相信你能看到这里,就一定用过cocoapods,cocoapods是什么呢?怎么用?算了吧,都是本文的范围,这里只介绍怎么将自己的项目组件进行私有化,其实严格来说不算什么私有化,只是,想自己写好的框架放到github或者其他平台上让他支持cocoapods管理。这类文章网上已经随处可见,但是由于打算开始写自己的框架,就记录了一下…..
首推荐
如果你还不知道sm是CocoaPods,或者想对CocoaPods了解更深入一点的,可以先看看上面的推荐
1. 在github创建仓库完成,然后将仓库检出到本地
注意创建事项:
- LICENSE(许可证)文件不可缺少,否则检测spec文件时,会有警告(选择MIT就OK)
- 不要使用中文,最好和库名字直接对应
- 其实也可以在其他平台,不一定是github
2. 将写好开源框架/库的Demo或者Example放到Git仓库下,
还要将要开源的文件夹也放入到git仓库中(该文件夹在后面会被用到)
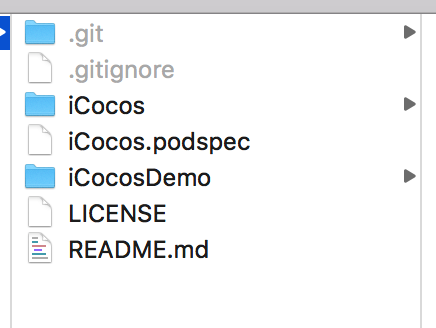
3. 项目发布到github后,我们在工程根目录中初始化一个Podspec文件:
创建自己项目的Podspec描述文件:
pod spec create iCocos
4. 编辑修改iCocos.podspec对应信息
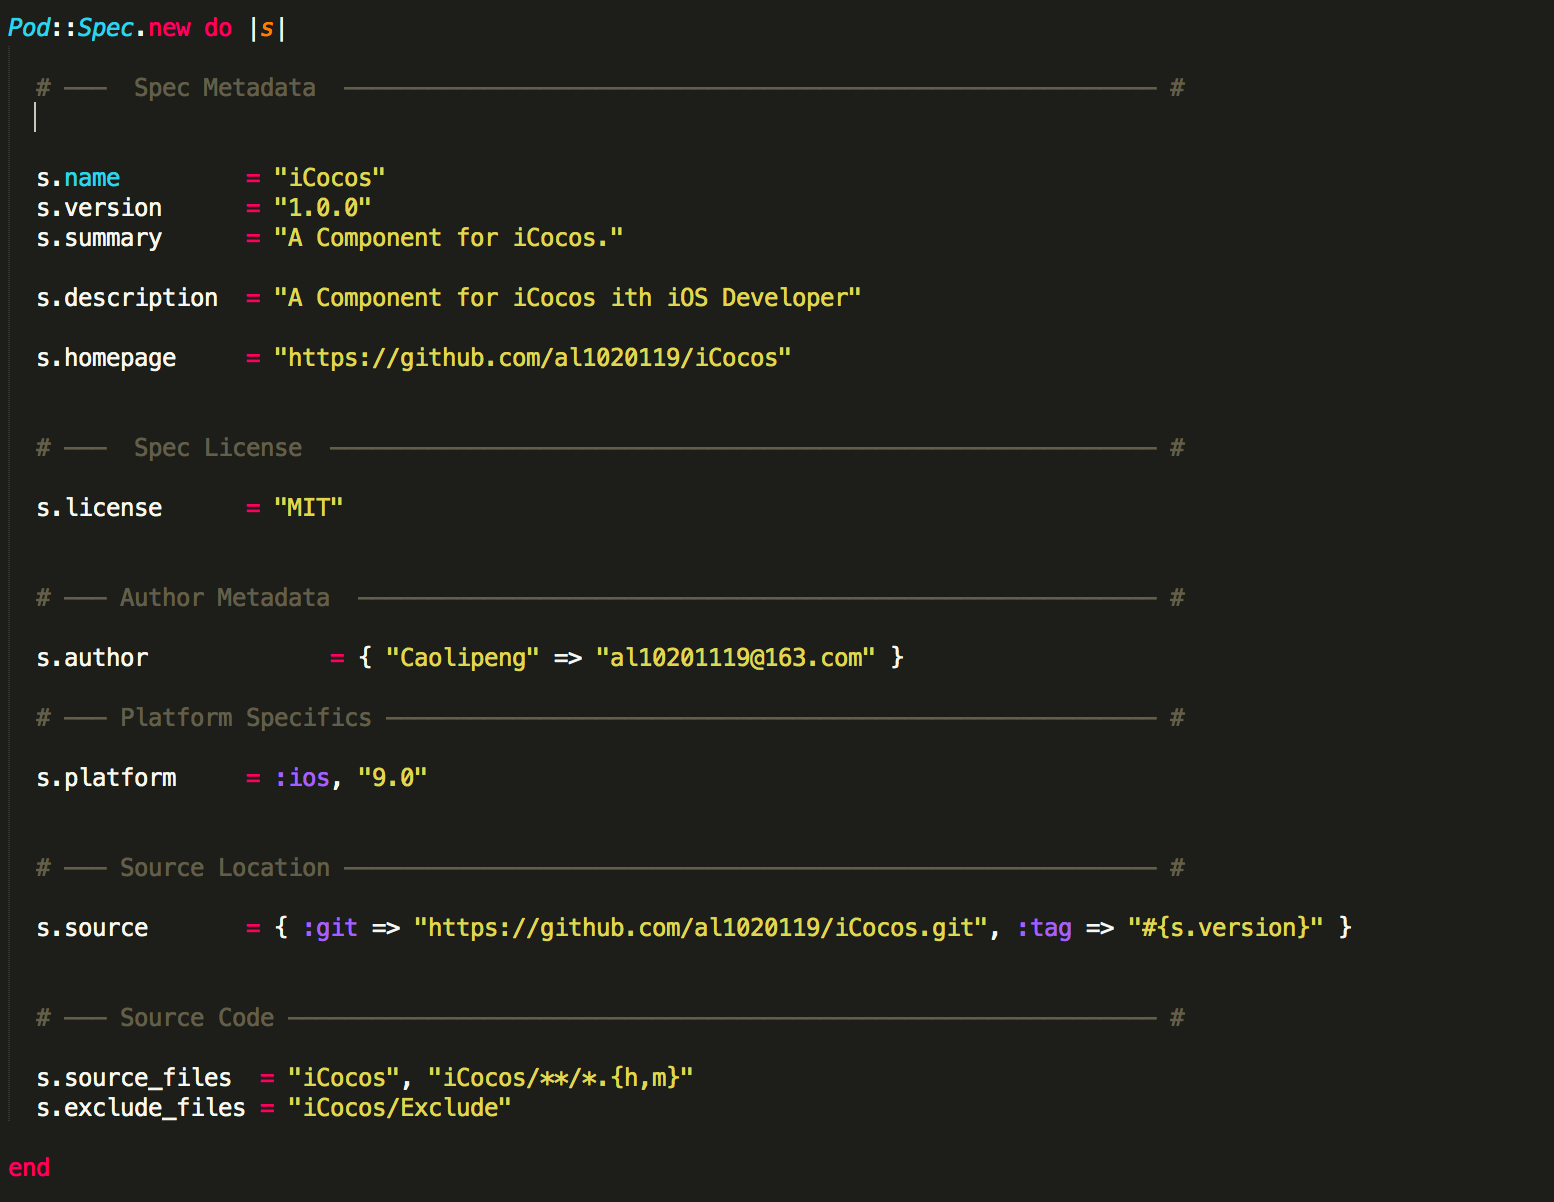
可以直接参照我的内容进行修改
具体内容不介绍
- s.name:名称,pod search 搜索的关键词,注意这里一定要和.podspec的名称一样,否则报错
- s.version:版本号
- s.ios.deployment_target:支持的pod最低版本
- s.summary: 简介
- s.homepage:项目主页地址
- s.license:许可证
- s.author:作者
- s.social_media_url:社交网址,这里我写的微博默认是Twitter,如果你写Twitter的话,你的podspec发布成功后会@你
- s.source:项目的地址
- s.source = { :git => “https://github.com/al1020119/iCocos.git", :commit => “68defea” }
- s.source = { :git => “https://github.com/al1020119/iCocos.git", :tag => 1.0.0 }
- s.source = { :git => “https://github.com/al1020119/iCocos.git", :tag => s.version }
commit => “68defea” 表示将这个Pod版本与Git仓库中某个commit绑定
tag => 1.0.0 表示将这个Pod版本与Git仓库中某个版本的comit绑定
tag => s.version 表示将这个Pod版本与Git仓库中相同版本的comit绑定
- s.source_files:需要包含的源文件
- s.resources: 资源文件
- s.requires_arc: 是否支持ARC
- s.dependency:依赖库,不能依赖未发布的库,如 s.dependency = ‘AFNetworking’
- s.dependency:依赖库,如有多个可以这样写。我这里是托管在github上,所以这里将地址copy过来就行了。
- source_files: 核心代码的文件地址。
- 这里是经常出错的地方!—如果使用的是这种方式来显示核心代码地址而不是下面的模块化的话,
- 需要将代码文件必须以仓库名命名(也就意味着最多只有两个文件.h和.m文件了,可以有一个.h文件,把它作为头文件就行),这种方式检验podspec文件有点严格,否则就会报错。
- source_files:写法及含义建议大家写第一种或者第二种
"YJSettingTableView/*""YJSettingTableView/YJSettingTableView/*.{h,m}""YJSettingTableView/**/*.h"
“*”表示匹配所有文件
“*.{h,m}”表示匹配所有以.h和.m结尾的文件
“**”表示匹配所有子目录
5. 设置tag号,提交修改(注:只要spec文件被修改,就必须重新执行如下命令)
因为cocoapods是依赖tag版本的,所以必须打tag,
以后再次更新只需要把你的项目打一个tag
然后修改.podspec文件中的版本接着提交到cocoapods官方就可以了,提交命令请看下面
- git commit -m “Release 1.0.0” (先提交当前修改)
- git tag “v1.0.0” (添加tag) //为git打tag, 第一次需要在前面加一个v
- git push –tags (推送tag到远程)
- git push origin master (推送到远程到代码仓库)
或许可能有些没有加入的(执行 git add . 就可以)
6. 提交之前先验证.podspec文件是否合法
- pod spec lint iCocos.podspec –verbose
- pod spec lint iCocos.podspec –allow-warnings (忽略警告)
我这边在验证的时候出现了下面错误
LiudeMacBook:iCocos a115$ pod spec lint iCocos.podspec –verbose
-> iCocos (1.0.0)
- ERROR | license: Sample license type.
- ERROR | description: The description is empty.
- ERROR | [iOS] unknown: Encountered an unknown error (The `iCocos` pod failed to validate due to 2 errors.
[!] The validator for Swift projects uses Swift 3.0 by default, if you are using a different version of swift you can use a `.swift-version` file to set the version for your Pod. For example to use Swift 2.3, run:
`echo "2.3" > .swift-version`:
- ERROR | license: Sample license type.
- ERROR | description: The description is empty.

) during validation.

Analyzed 1 podspec.

[!] The spec did not pass validation, due to 3 errors.
[!] The validator for Swift projects uses Swift 3.0 by default, if you are using a different version of swift you can use a `.swift-version` file to set the version for your Pod. For example to use Swift 2.3, run:
`echo "2.3" > .swift-version`.
根据上面提示了三个错误(due to 3 errors),其实是两个,1,3是一个
1. description is empty
这里原始description是这样的
`s.description  = <<-DESC`
`DESC`
需要改成一段属于自己的描述,其他信息类型修改
- 关于swift-version
这里直接执行echo "2.3" > .swift-version就正常的
但是据需验证又出现如下错误:
LiudeMacBook:iCocos a115$ pod spec lint iCocos.podspec
-> iCocos (1.0.0)
- ERROR | [iOS] unknown: Encountered an unknown error ([!] /usr/bin/git clone https://github.com/al1020119/iCocos.git /var/folders/4z/d12mnyfx7c37vg91t8h0941h0000gp/T/d20171025-8857-1oau87 --template= --single-branch --depth 1 --branch 1.0.0

Cloning into '/var/folders/4z/d12mnyfx7c37vg91t8h0941h0000gp/T/d20171025-8857-1oau87'...
warning: Could not find remote branch 1.0.0 to clone.
fatal: Remote branch 1.0.0 not found in upstream origin
) during validation.

Analyzed 1 podspec.

[!] The spec did not pass validation, due to 1 error.
这里其实不是错误,是没有更新处理,前面说了:
(注:只要spec文件被修改,就必须重新执行如下命令)
git commit -m "Release 1.0.0"  (先提交当前修改)
git tag 1.0.0            (添加tag)
git push --tags         (推送tag到远程)
git push origin master  (推送到远程到代码仓库)
或许可能有些没有加入的(执行 git add . 就可以)
7. 然后再次验证就会成功
LiudeMacBook:iCocos a115$ pod spec lint iCocos.podspec –verbose
-> iCocos (1.0.0)

Analyzed 1 podspec.

iCocos.podspec passed validation.
或许你还可能遇到下面的错误,不过不要慌,直接按照下面操作就可以
先删除tag
// 删除本地tag
git tag -d 1.0.0
// 删除远程tag
git push origin -d tag 1.0.0
修改spec文件(必须修改相应的version和source)
重新执行–>设置tag号,提交修改的步骤
8. trunk推送podspec文件
podspec文件验证成功,通过trunk推送podspec文件
pod trunk push iCocos.podspec
如果你是第一次,并且没有帐号你会看到下面一段
LiudeMacBook:iCocos a115$ pod trunk push iCocos.podspec
[!] You need to register a session first.

Usage:

$ pod trunk push [PATH]

Publish the podspec at `PATH` to make it available to all users of the ‘master’
spec-repo. If `PATH` is not provided, defaults to the current directory.

Before pushing the podspec to cocoapods.org, this will perform a local lint of
the podspec, including a build of the library. However, it remains *your*
responsibility to ensure that the published podspec will actually work for your
users. Thus it is recommended that you *first* try to use the podspec to
integrate the library into your demo and/or real application.

If this is the first time you publish a spec for this pod, you will
automatically be registered as the ‘owner’ of this pod. (Note that ‘owner’ in
this case implies a person that is allowed to publish new versions and add other
‘owners’, not necessarily the library author.)

Options:

--allow-warnings           Allows push even if there are lint warnings
--use-libraries            Linter uses static libraries to install the spec
--swift-version=VERSION    The SWIFT_VERSION that should be used to lint the spec.
This takes precedence over a .swift-version file.
--skip-import-validation   Lint skips validating that the pod can be imported
--skip-tests               Lint skips building and running tests during validation
--silent                   Show nothing
--verbose                  Show more debugging information
--no-ansi                  Show output without ANSI codes
--help                     Show help banner of specified command
根据上面的提示是告诉你:需要你用邮箱注册一个trunk
9. 我们直接使用终端注册
pod trunk register al10201119@163.com "iCocos" --description="iCocos"
之后会有一封带有验证链接的邮件发送到你输入的邮箱,点击验证后就可以回来终端继续提交操作了。
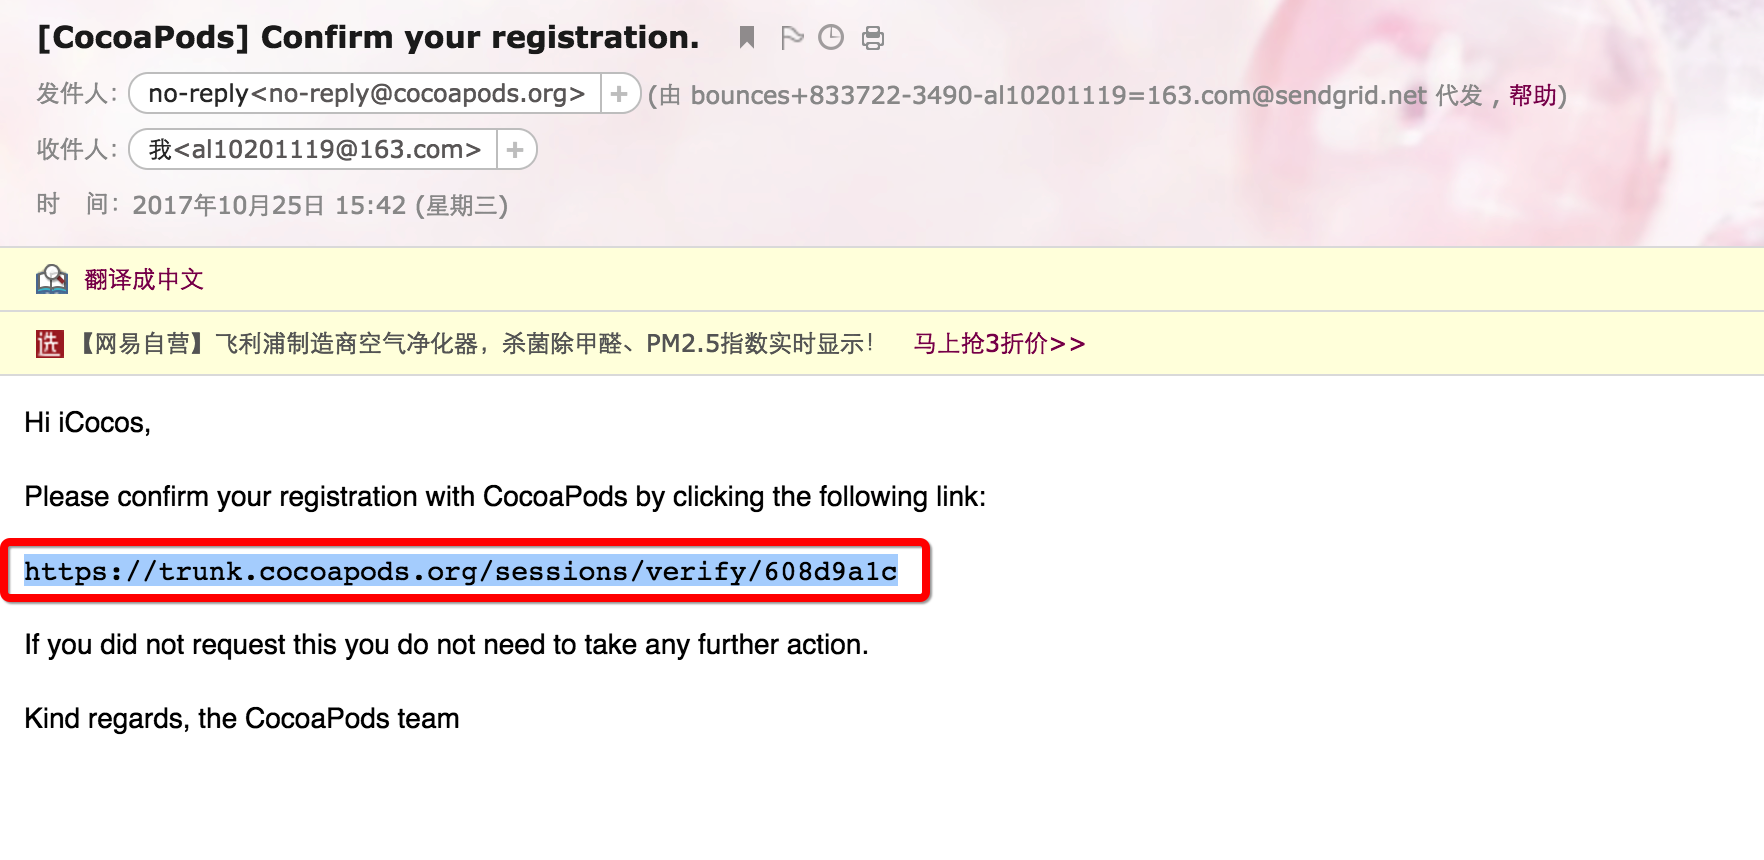
已经注册过的不需要注册,怎么看自己有没有注册
pod trunk me

10. 发布代码到cocoapods
pod trunk push iCocos.podspec --verbose
pod trunk push iCocos.podspec --allow-warnings
发布时会验证 Pod 的有效性,如果你在手动验证 Pod 时使用了 –use-libraries 或 –allow-warnings 等修饰符,那么发布的时候也应该使用相同的字段修饰,否则出现相同的报错。
pod trunk push iCocos.podspec –verbose
一段很长的描述,然后你会看到下面的成功提示

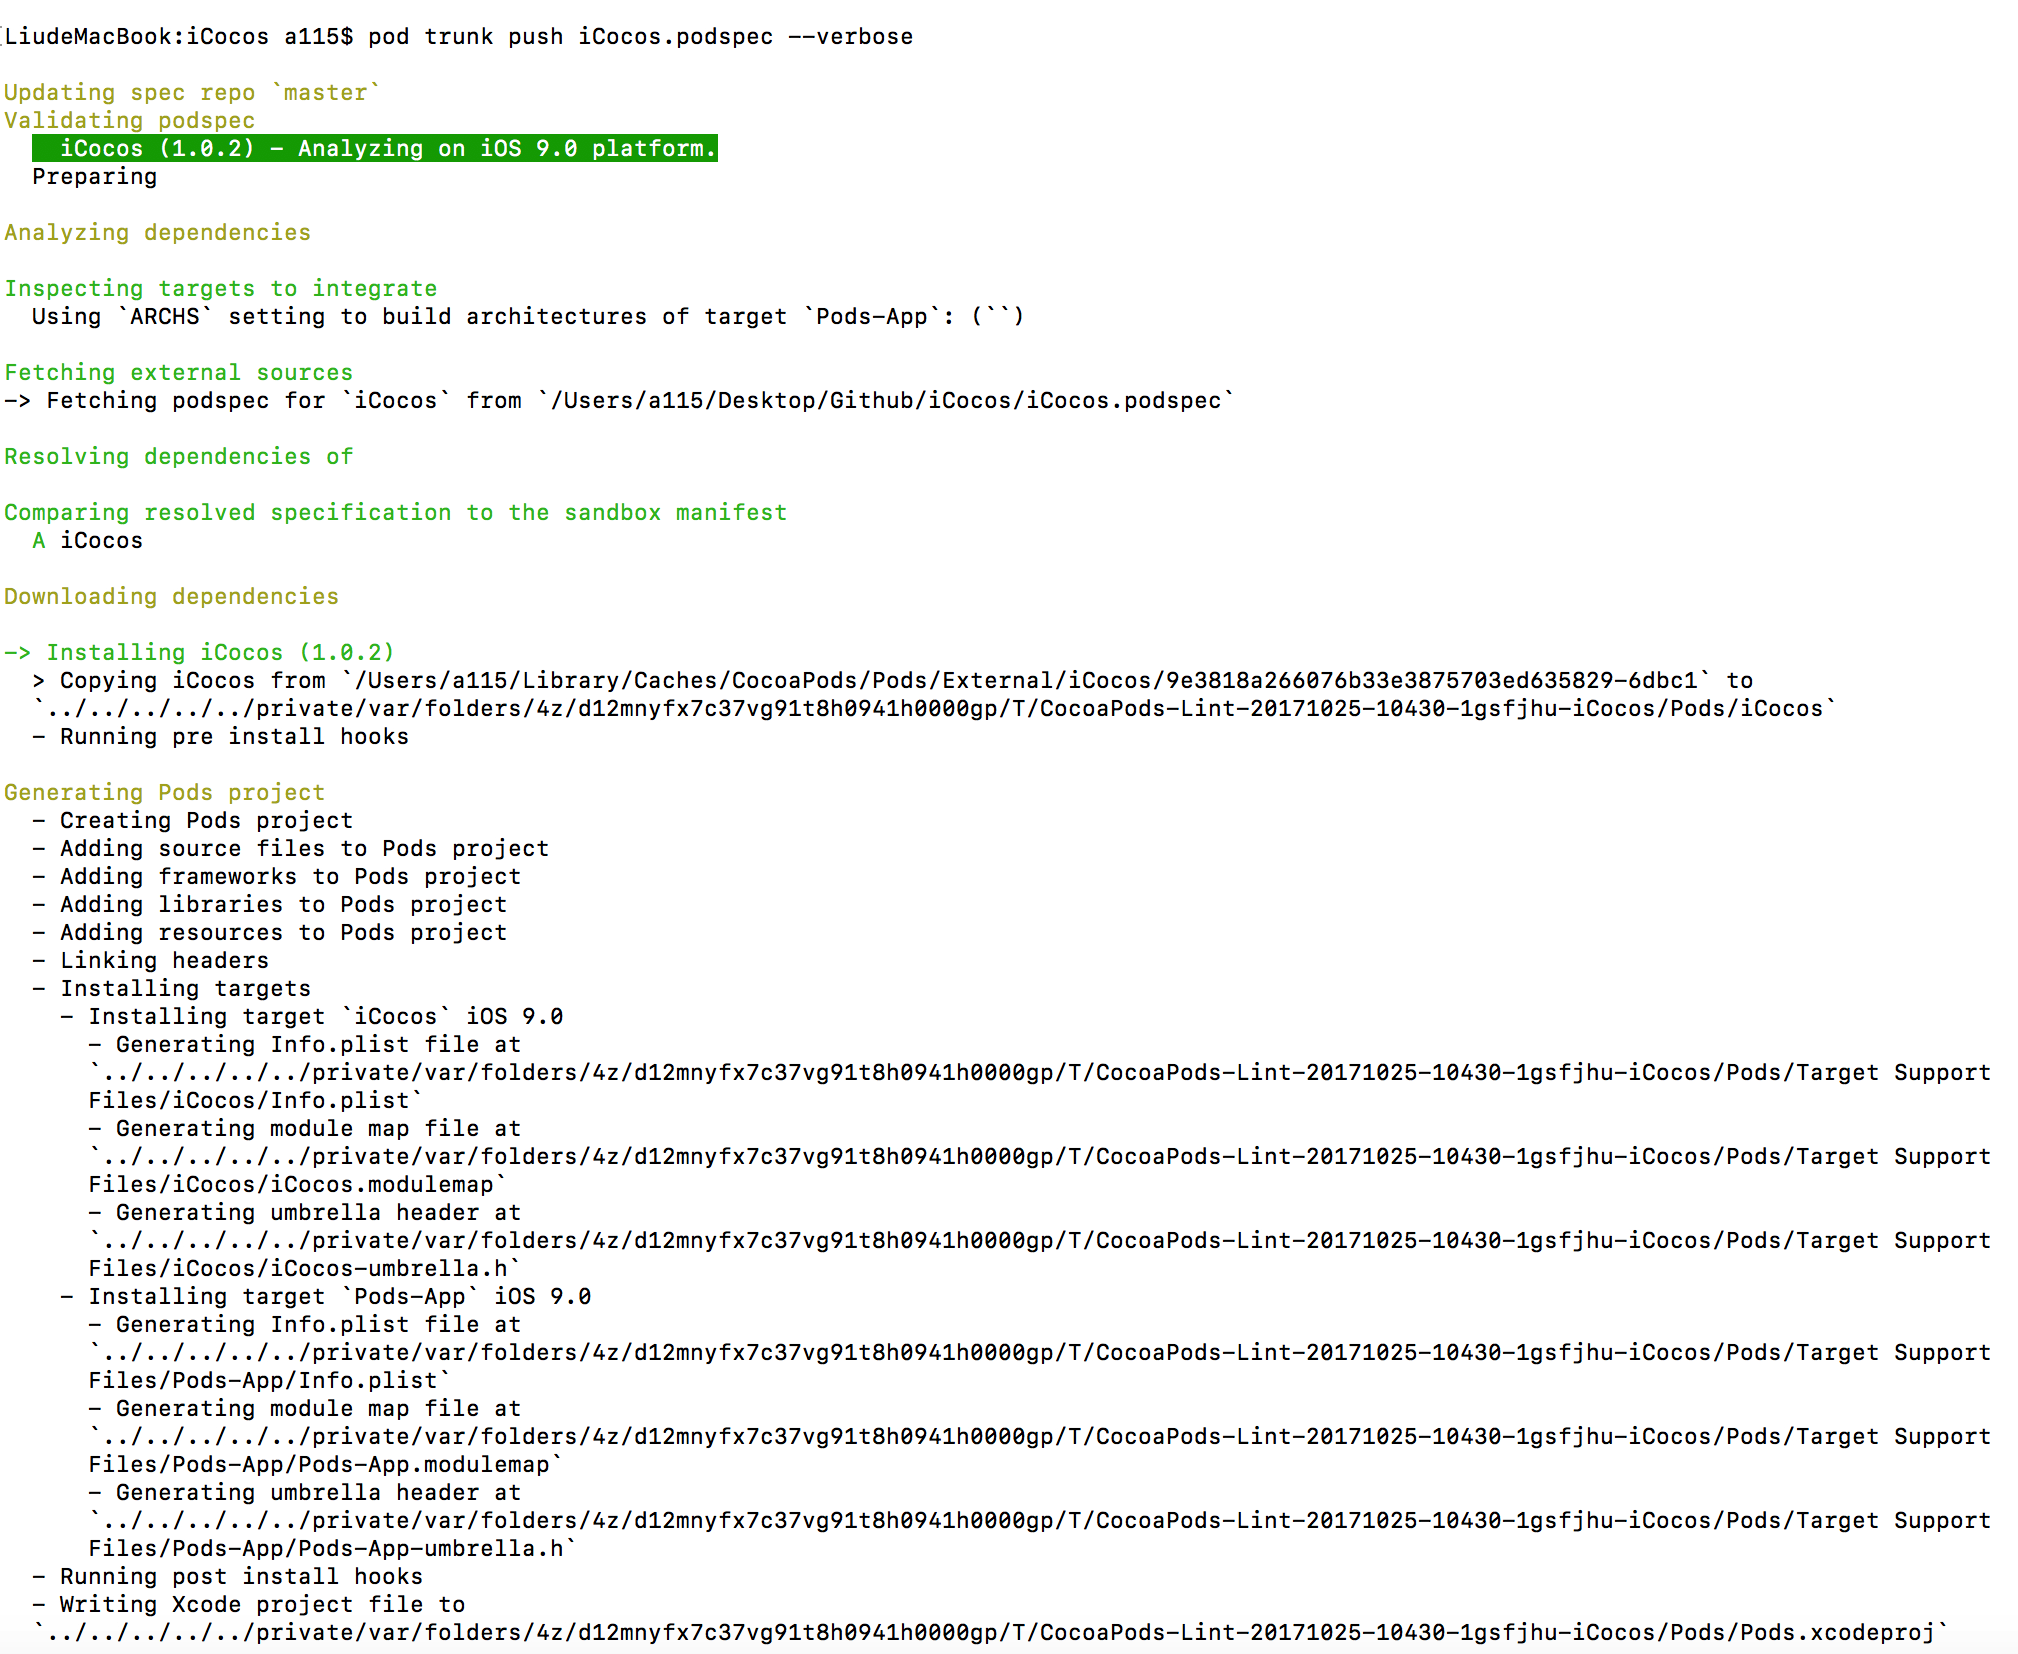
11. 如果提交到cocoapods还有可能遇到下面错误:
Updating spec repo 'master'
warning: inexact rename detection was skipped due to too many files.
warning: you may want yo set your diff.renameLimit variable to at least 3080 an retry the command
...
[!] There was an error pushing a new version to trunk: execution expired
这里有解决方案:http://www.sw33tcode.com/?p=31
git config merge.renameLimit 999999
git config --unset merge.renameLimit
12. 然后开始去搜索我的库了
但是发现既然没有,各种排查,最后发现由于延时的问题,不过如果还是不出现的,网上找到了相应的方案:
删除
~/Library/Caches/CocoaPods目录下的search_index.json文件
pod setup成功后会生成~/Library/Caches/CocoaPods/search_index.json文件。
终端输入
rm ~/Library/Caches/CocoaPods/search_index.json
删除成功后再执行pod search
稍等片刻,然后pod search就会出现你所要搜的类库了。

