自从去年中旬电脑被我整挂了之后,大部分插件和脚本配置都失效了,重新安装也试了好几次,最近上班要上线了,不得不重新整理和配置一下,还好没有遇到什么坑……
前言
项目即将进入阶段,每次都要点击那么多,频繁的打包脑子都要晕了,习惯了之前一行命令就搞定的我,只能花一个晚上加班整回之前的Fastlane。
本文采用的方案是:Fastlane + 蒲公英 + ……。
关于具体发布状态可以在这里(app-store, package, ad-hoc, enterprise, development)改,
当然后面会结合App store发布最近本文内容,同时支持jenkins或者其他持续集成系统.
Fastlane安装
Fastlane是一套使用Ruby写的自动化工具集,用于iOS和Android的自动化打包、发布等工作,可以节省大量的时间。
安装过程如下:
1.检查Ruby版本,需要2.0及以上版本。在终端输入以下命令确认:
ruby -v
需要注意的是需要将gem的source改为https://gems.ruby-china.org/。
如何检查?在终端输入以下命令:
gem sources
结果应为:
*** CURRENT SOURCES ***

https://gems.ruby-china.org/
2.检查Xcode命令行工具是否安装。在终端输入以下命令:
xcode-select --install
如果没有安装会进行安装。如果已经安装了则会提示:
xcode-select: error: command line tools are already installed, use "Software Update" to install updates

3.安装Fastlane
sudo gem install fastlane --verbose
如果出现以下错误:
ERROR:  While executing gem ... (Errno::EPERM)
    Operation not permitted - /usr/bin/rougify
则输入以下命令:
sudo gem install -n /usr/local/bin fastlane

4.检查Fastlane是否正确安装。输入以下命令:
fastlane --version

可以看到Fastlane版本信息,我的是2.85.0。
蒲公英的Fastlane插件安装
打开终端,进入你的项目工程的根目录,输入以下命令:
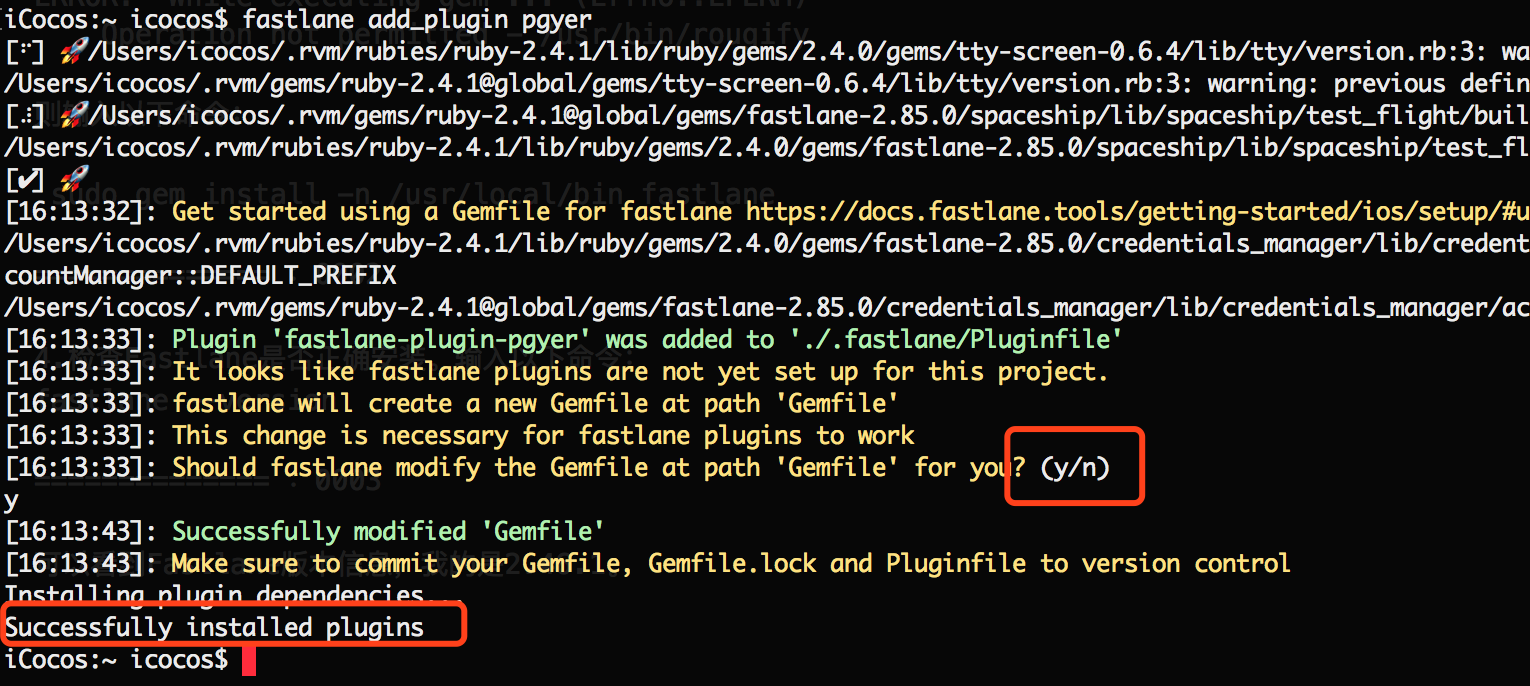
fastlane add_plugin pgyer
出现
Plugin 'fastlane-plugin-pgyer' was added to './fastlane/Pluginfile'
It looks like fastlane plugins are not yet set up for this project.
fastlane will create a new Gemfile at path 'Gemfile'
This change is necessary for fastlane plugins to work
Should fastlane modify the Gemfile at path 'Gemfile' for you?
(y/n)
输入y按回车,出现
Installing plugin dependencies...
Successfully installed plugins
便是安装成功了。
Fastlane配置
1.打开终端,进入你的项目工程的根目录,输入以下命令:
fastlane init
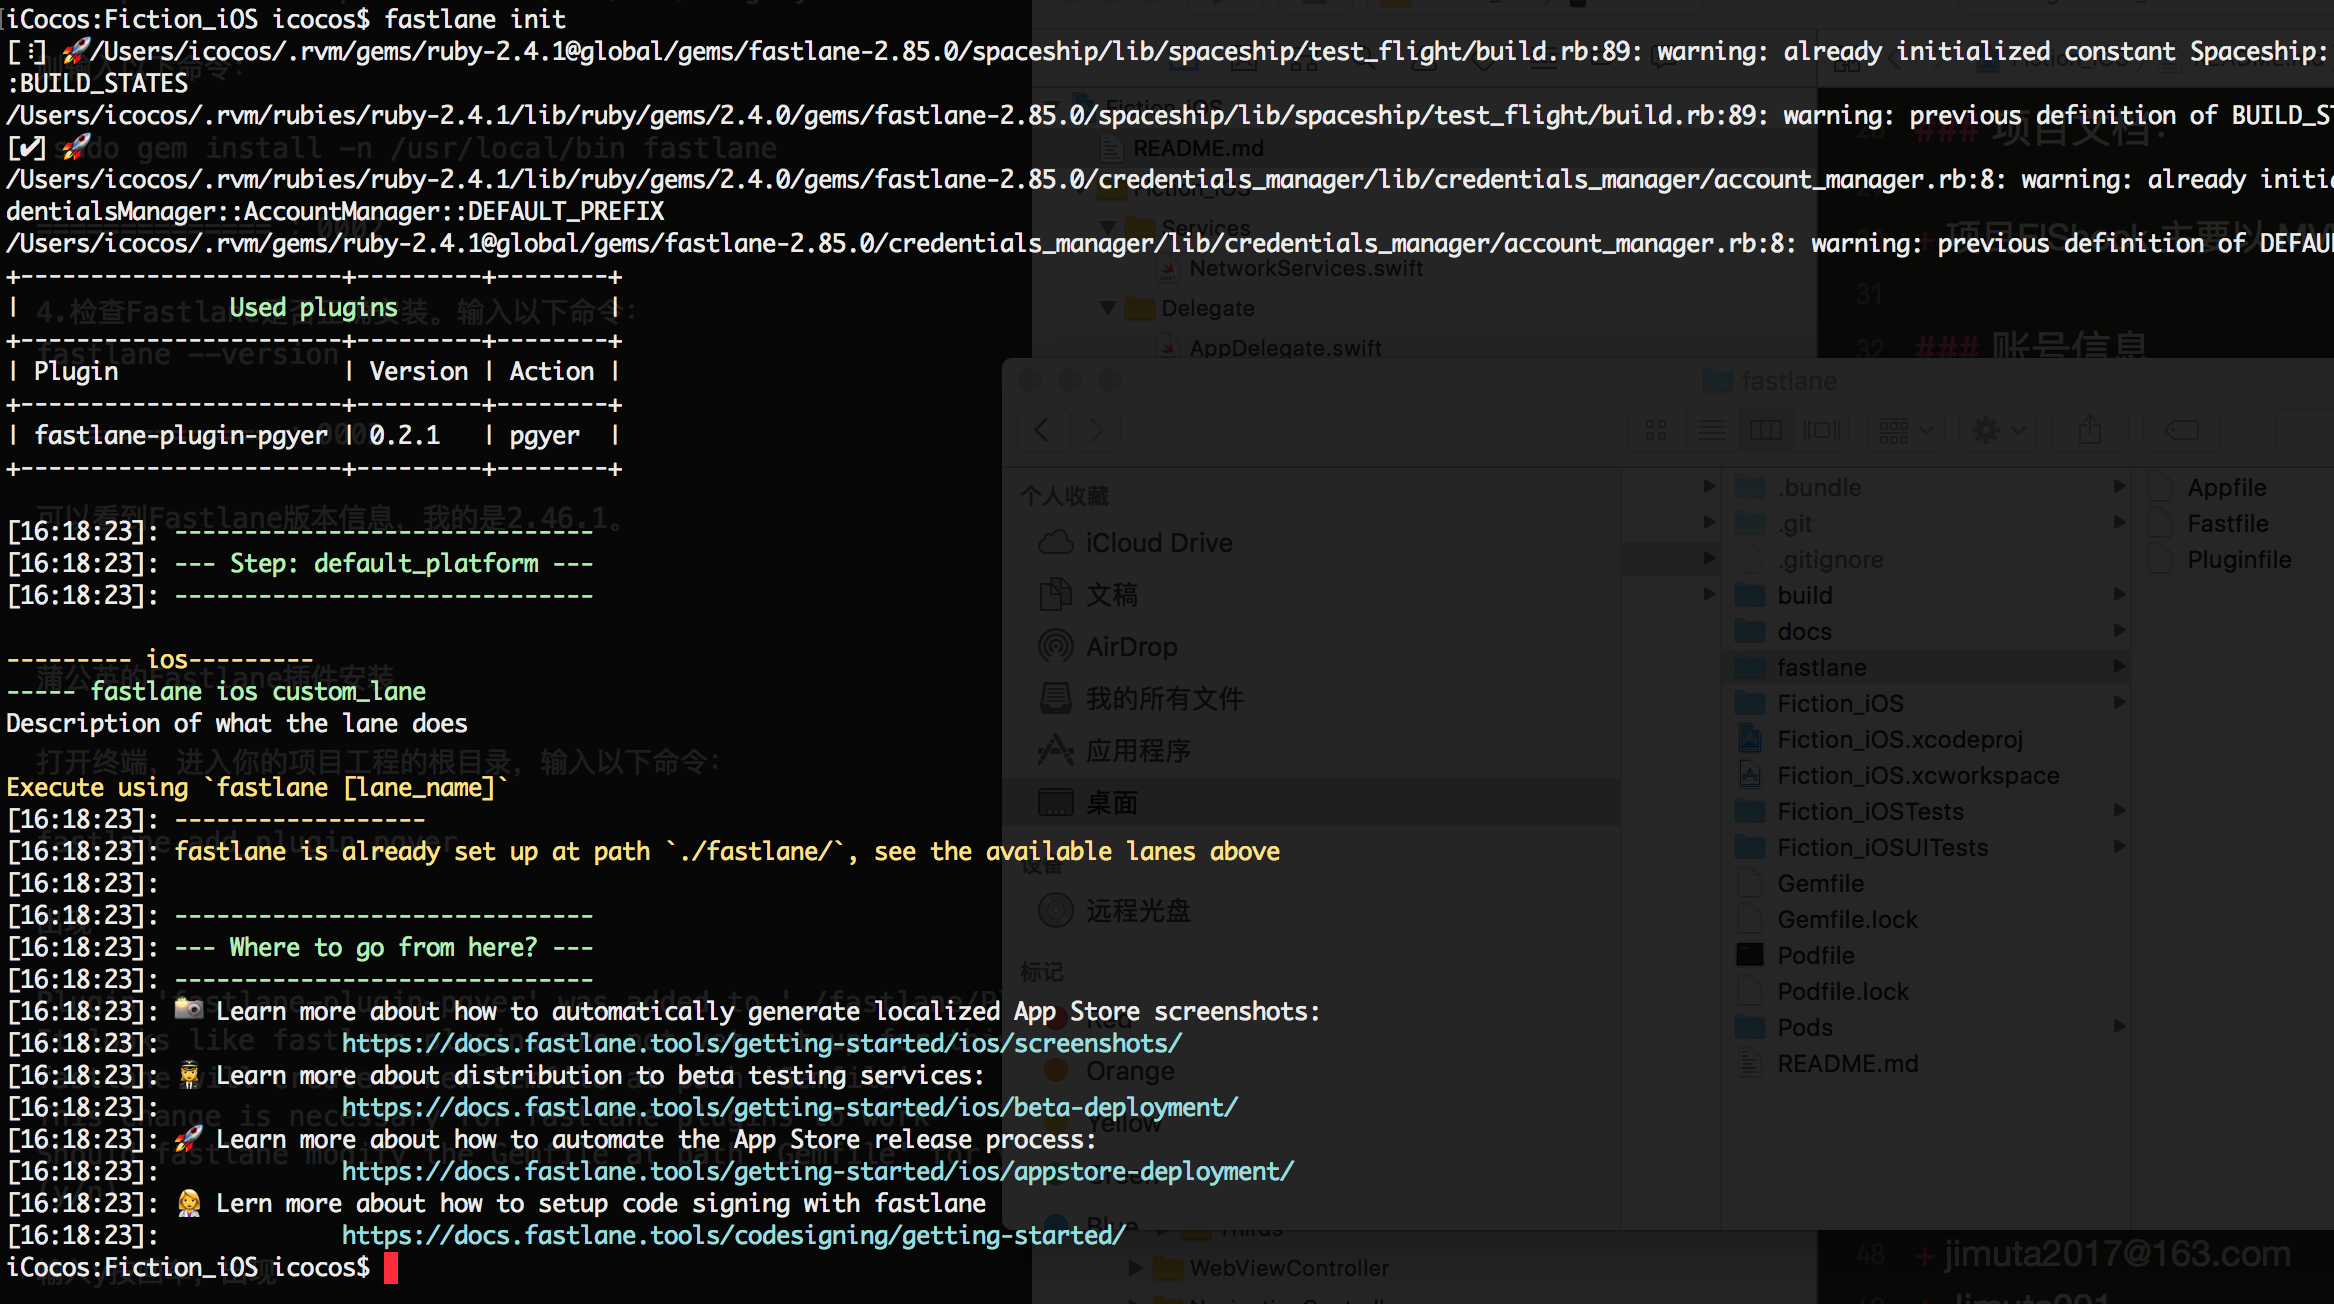
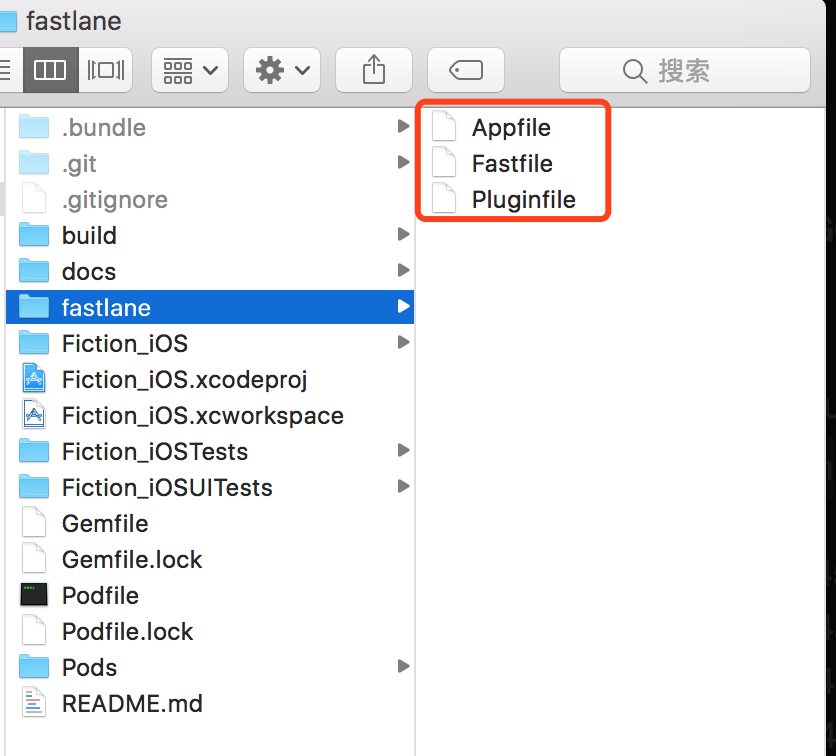
中间会让你输入苹果开发者账号的账号和密码,之后会在你项目工程的目录下生成一个fastlane文件夹,里面有Fastlane的配置文件,一个是Appfile文件,一个是Fastfile文件(如果要上传AppStore的话还有Deliverfile文件)。Appfile保存苹果开发者的相关信息、项目的相关信息等。Fastfile是运行脚本。
2.编辑Fastfile文件
有时候一天需要打好几个包,为了区分,我们这里实现一个递增build号的功能。
(1)修改项目工程配置
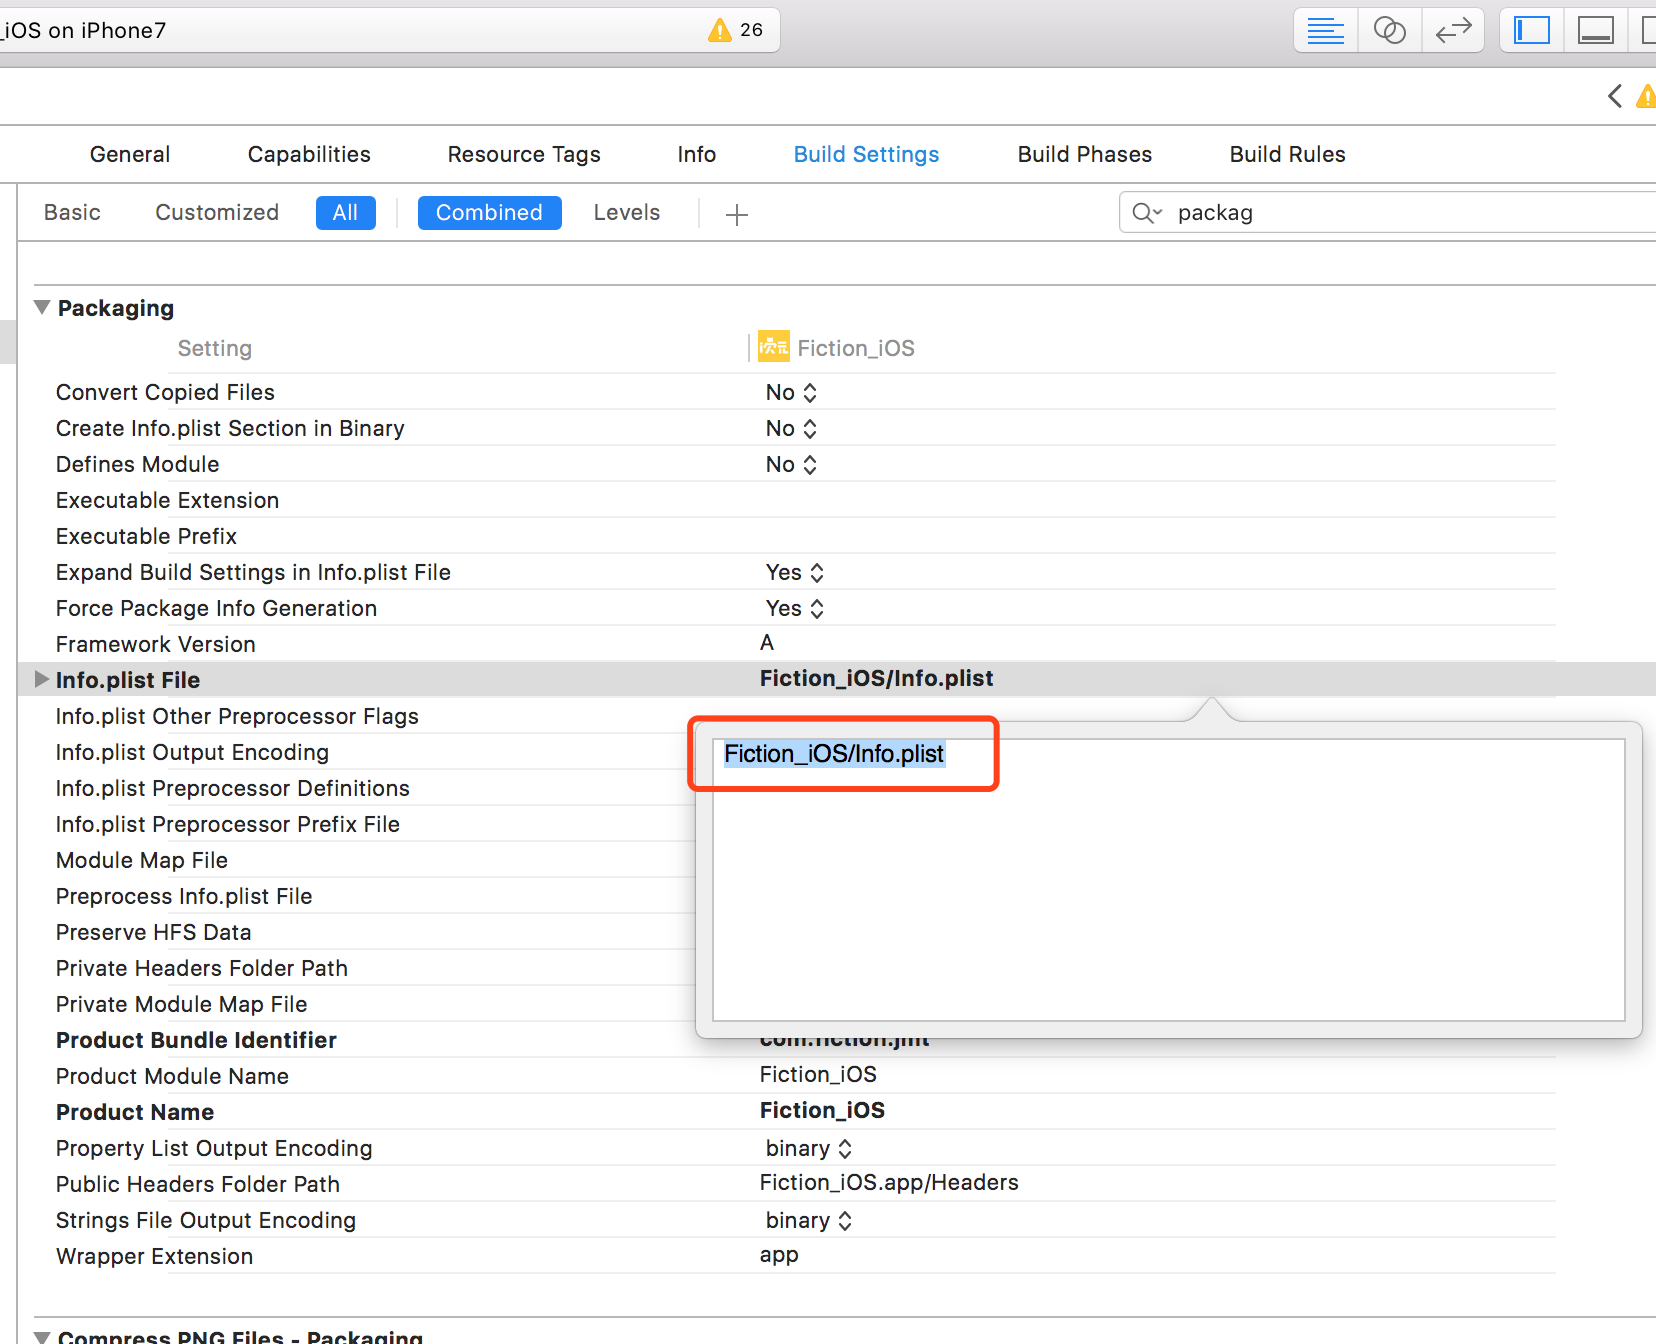
- 修改Build Settings中的Versioning配置,Current Project Version随便填一个,Versioning System选择Apple Generic。
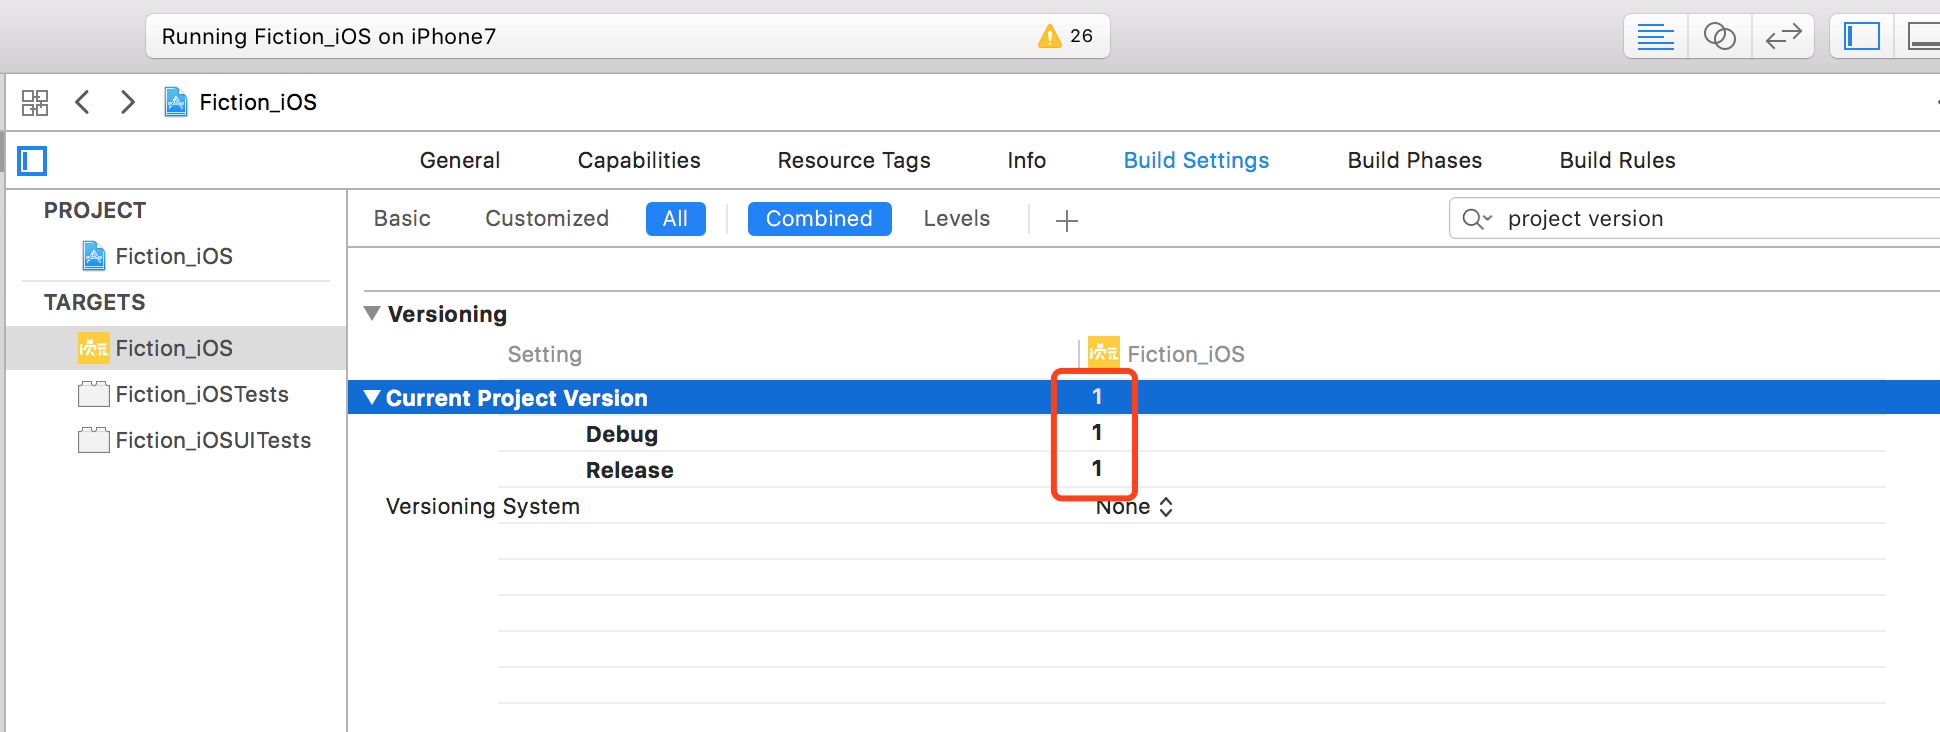
修改Info.plist File路径
(2)定义一个递增build号的函数,添加到Fastfile中
def updateProjectBuildNumber

currentTime = Time.new.strftime("%Y%m%d")
build = get_build_number()
if build.include?"#{currentTime}."
# => 为当天版本 计算迭代版本号
lastStr = build[build.length-2..build.length-1]
lastNum = lastStr.to_i
lastNum = lastNum + 1
lastStr = lastNum.to_s
if lastNum < 10
lastStr = lastStr.insert(0,"0")
end
build = "#{currentTime}.#{lastStr}"
else
# => 非当天版本 build 号重置
build = "#{currentTime}.01"
end
puts("*************| 更新build #{build} |*************")
# => 更改项目 build 号
increment_build_number(
build_number: "#{build}"
)
end
实现自动打包的完整Fastfile如下:可以直接拷贝修改
# 定义fastlane版本号 ---- 修改
fastlane_version "2.85.0"

# 定义打包平台
default_platform :ios

def updateProjectBuildNumber

currentTime = Time.new.strftime("%Y%m%d")
build = get_build_number()
if build.include?"#{currentTime}."
# => 为当天版本 计算迭代版本号
lastStr = build[build.length-2..build.length-1]
lastNum = lastStr.to_i
lastNum = lastNum + 1
lastStr = lastNum.to_s
if lastNum < 10
lastStr = lastStr.insert(0,"0")
end
build = "#{currentTime}.#{lastStr}"
else
# => 非当天版本 build 号重置
build = "#{currentTime}.01"
end
puts("*************| 更新build #{build} |*************")
# => 更改项目 build 号
increment_build_number(
build_number: "#{build}"
)
end

#指定项目的scheme名称 ---- 修改
scheme="Fiction_iOS"
#蒲公英api_key和user_key ---- 修改
api_key="264c007c340157969a5e4da77637e60f"
user_key="3fdffa475f545097333473b980765ce1"

# 任务脚本
platform :ios do
lane :development_build do|options|
branch = options[:branch]

puts "开始打development ipa"

updateProjectBuildNumber #更改项目build号

# 开始打包
gym(
#输出的ipa名称
output_name:"#{scheme}_#{get_build_number()}",
# 是否清空以前的编译信息 true:是
clean:true,
# 指定打包方式,Release 或者 Debug
configuration:"Release",
# 指定打包所使用的输出方式,目前支持app-store, package, ad-hoc, enterprise, development
export_method:"development",
# 指定输出文件夹
output_directory:"./fastlane/build",
)

puts "开始上传蒲公英"
# 开始上传蒲公英
pgyer(api_key: "#{api_key}", user_key: "#{user_key}")

end
end
注意:
蒲公英的 api_key 和 user_key,开发者在自己账号下的 账号设置-API信息 中可以找到。打其它类型的包的方法与development类似,可自定义一个新的lane实现。
打包发布
在终端输入
- fastlane development_build
便会进行自动打包并上传蒲公英了。
下面以执行流程
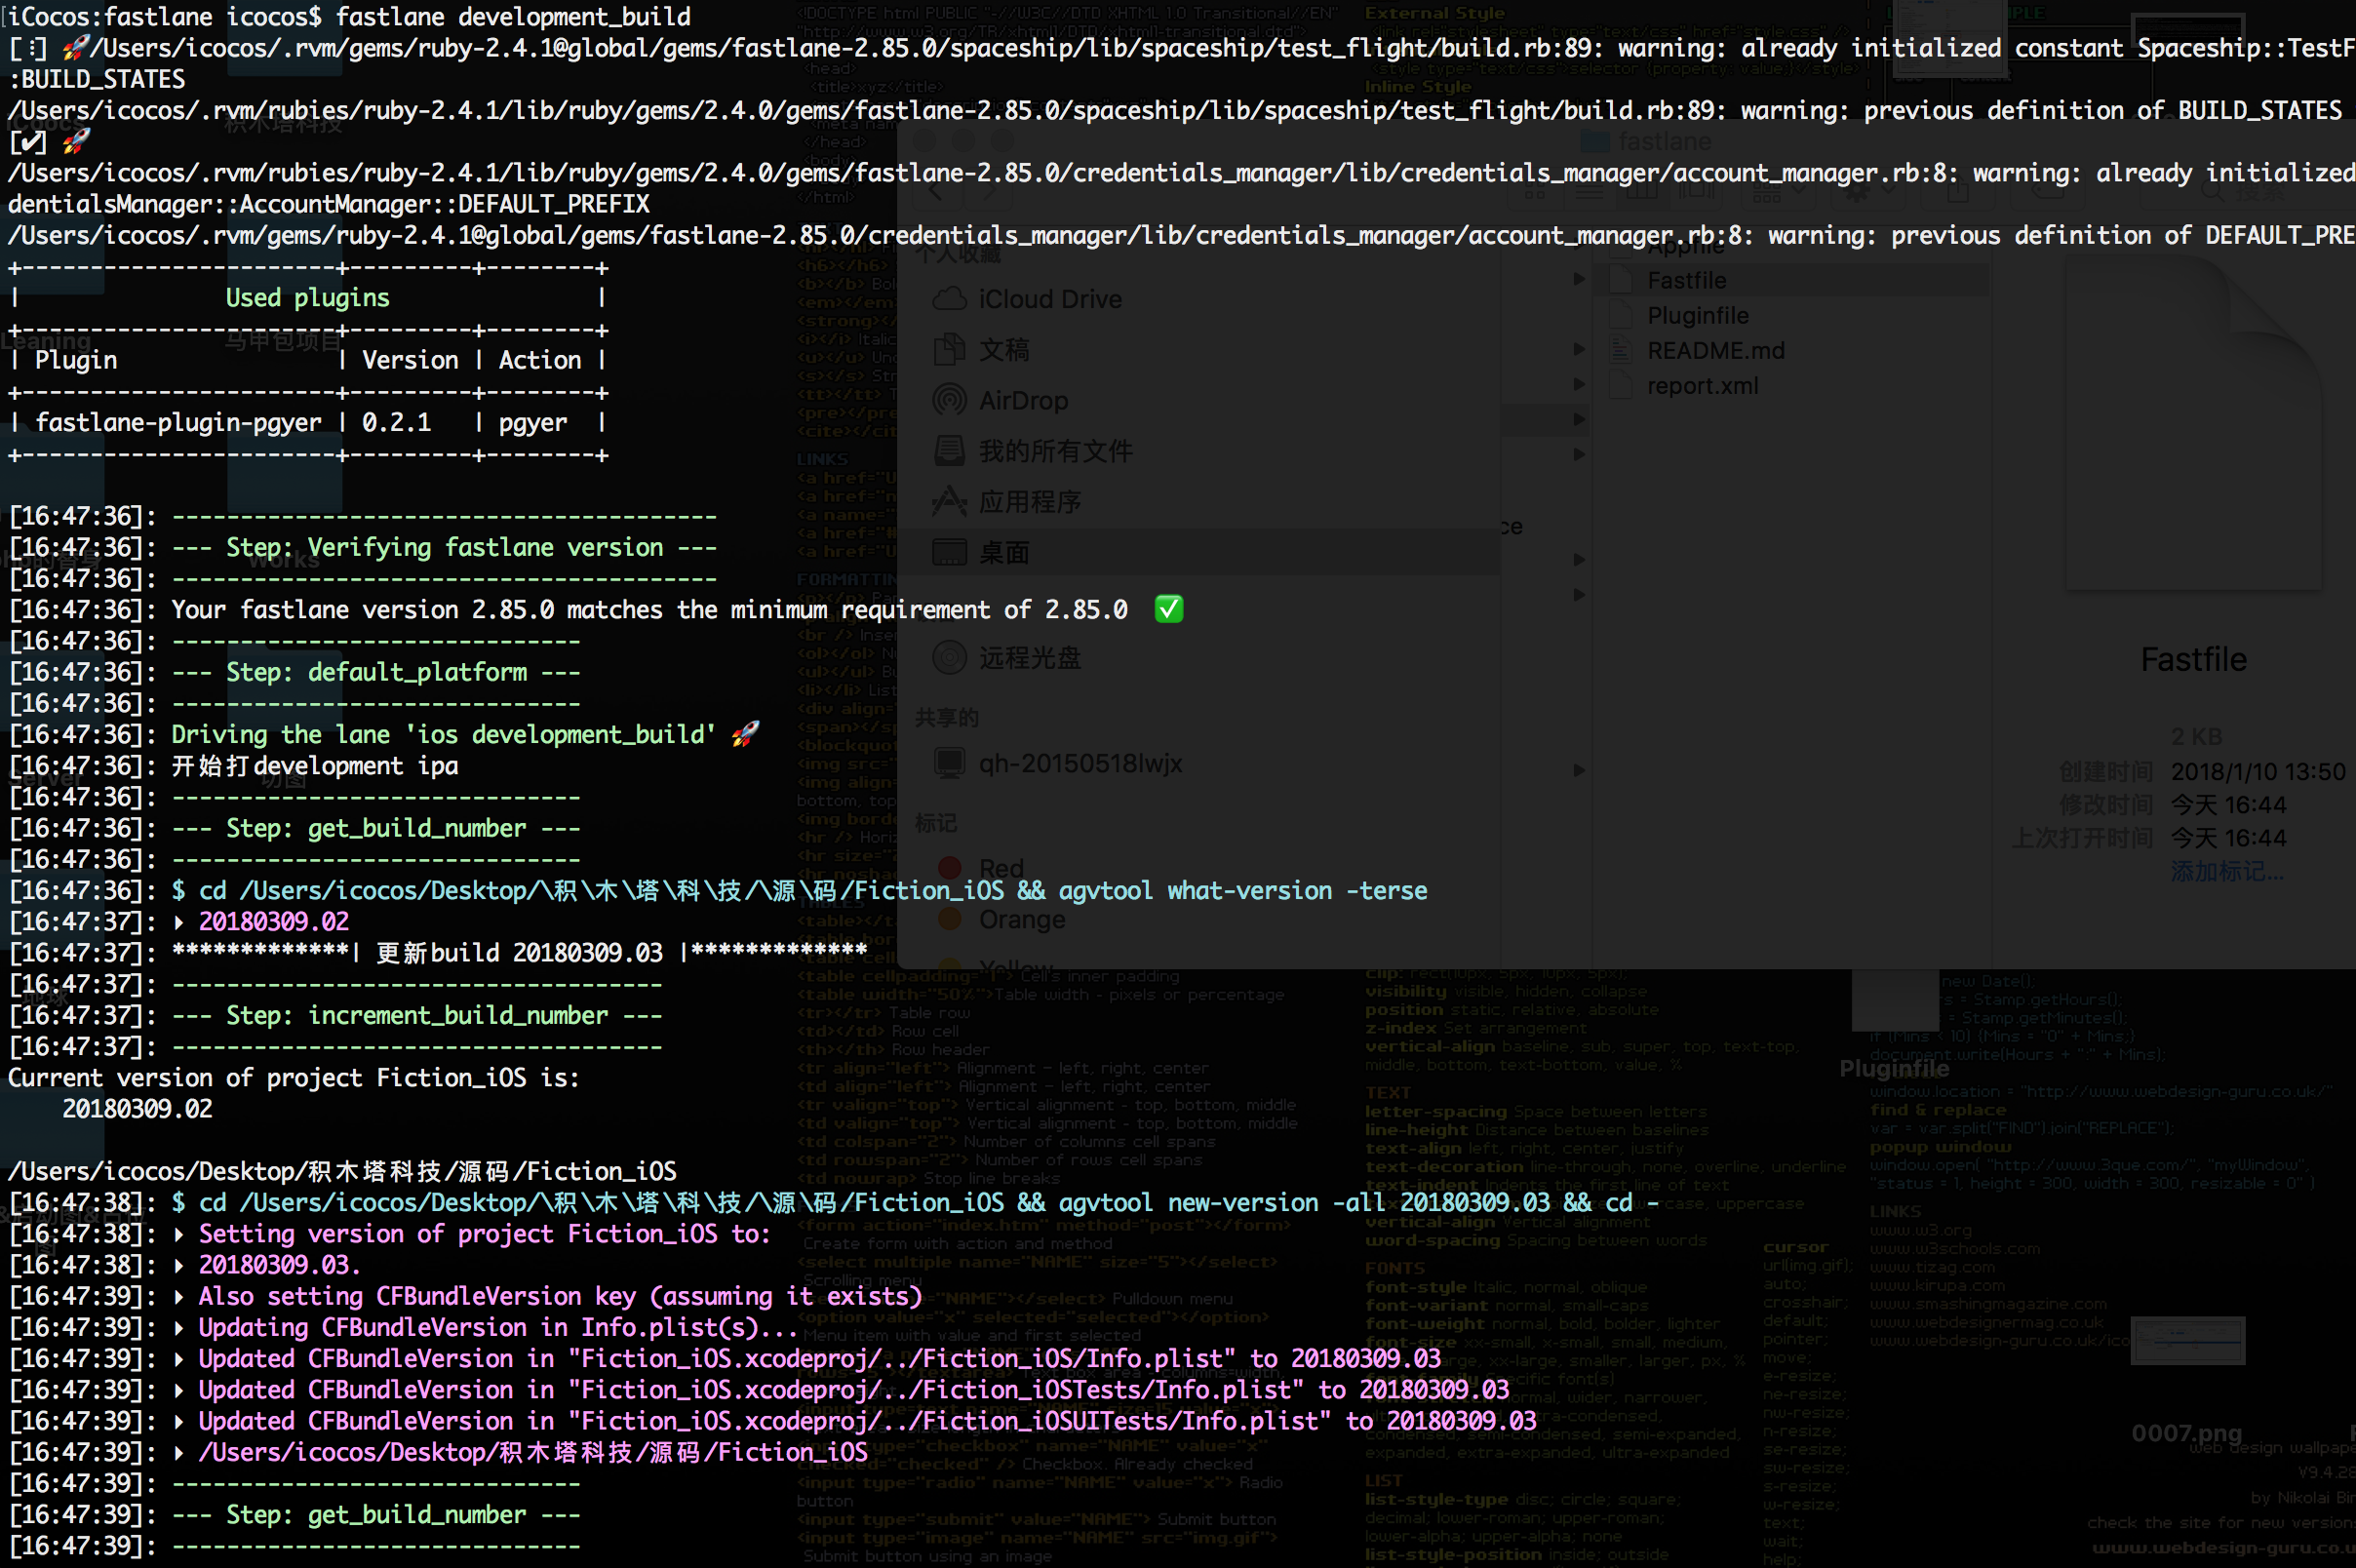
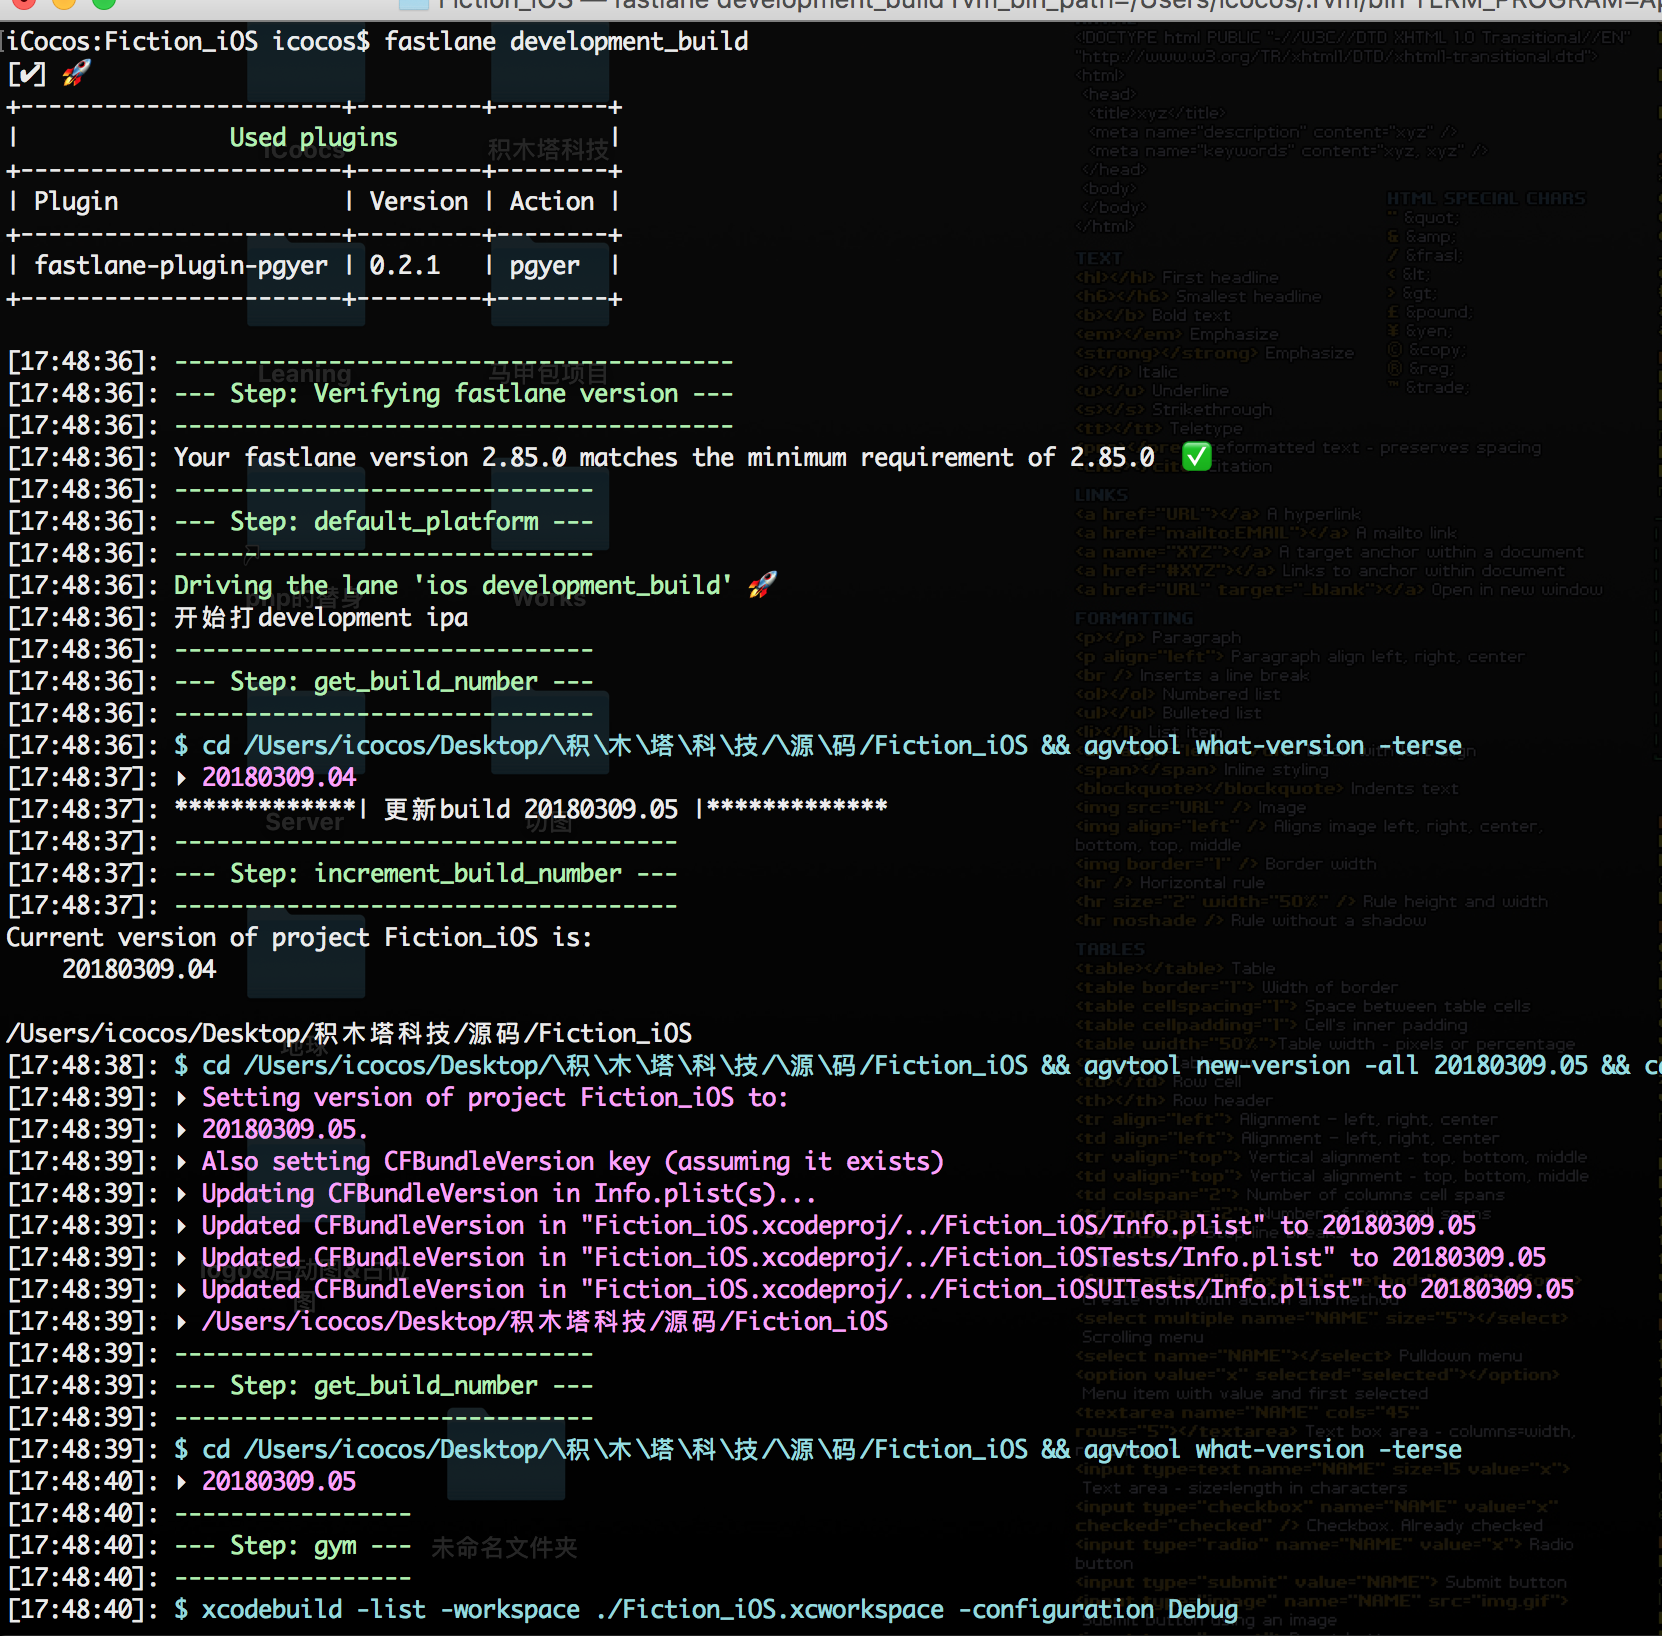
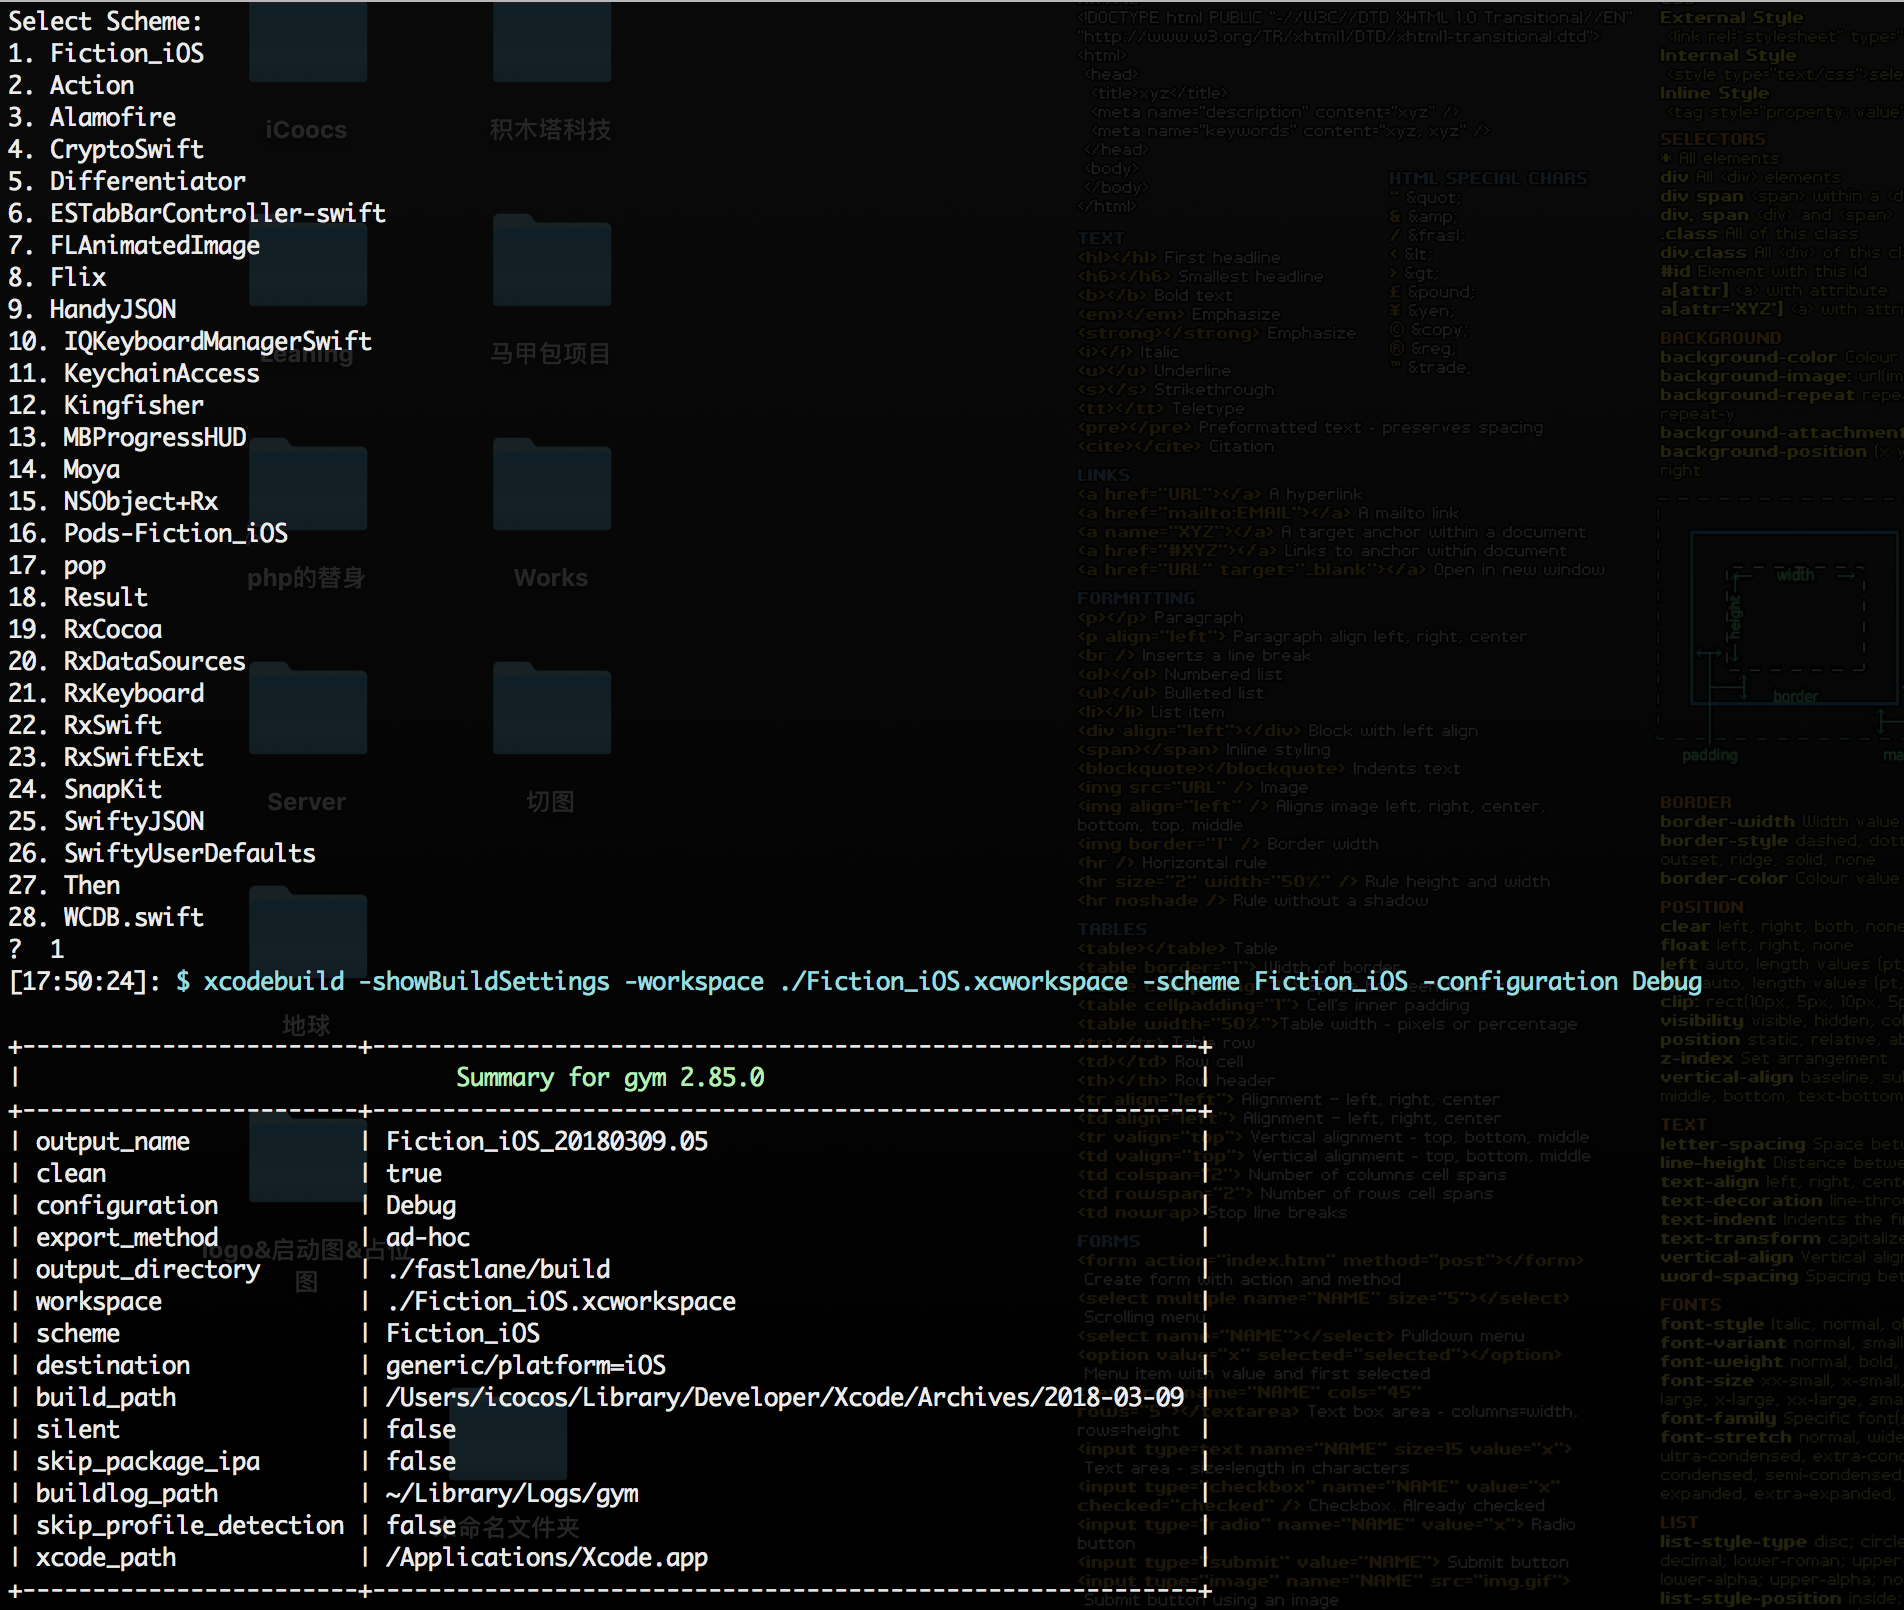
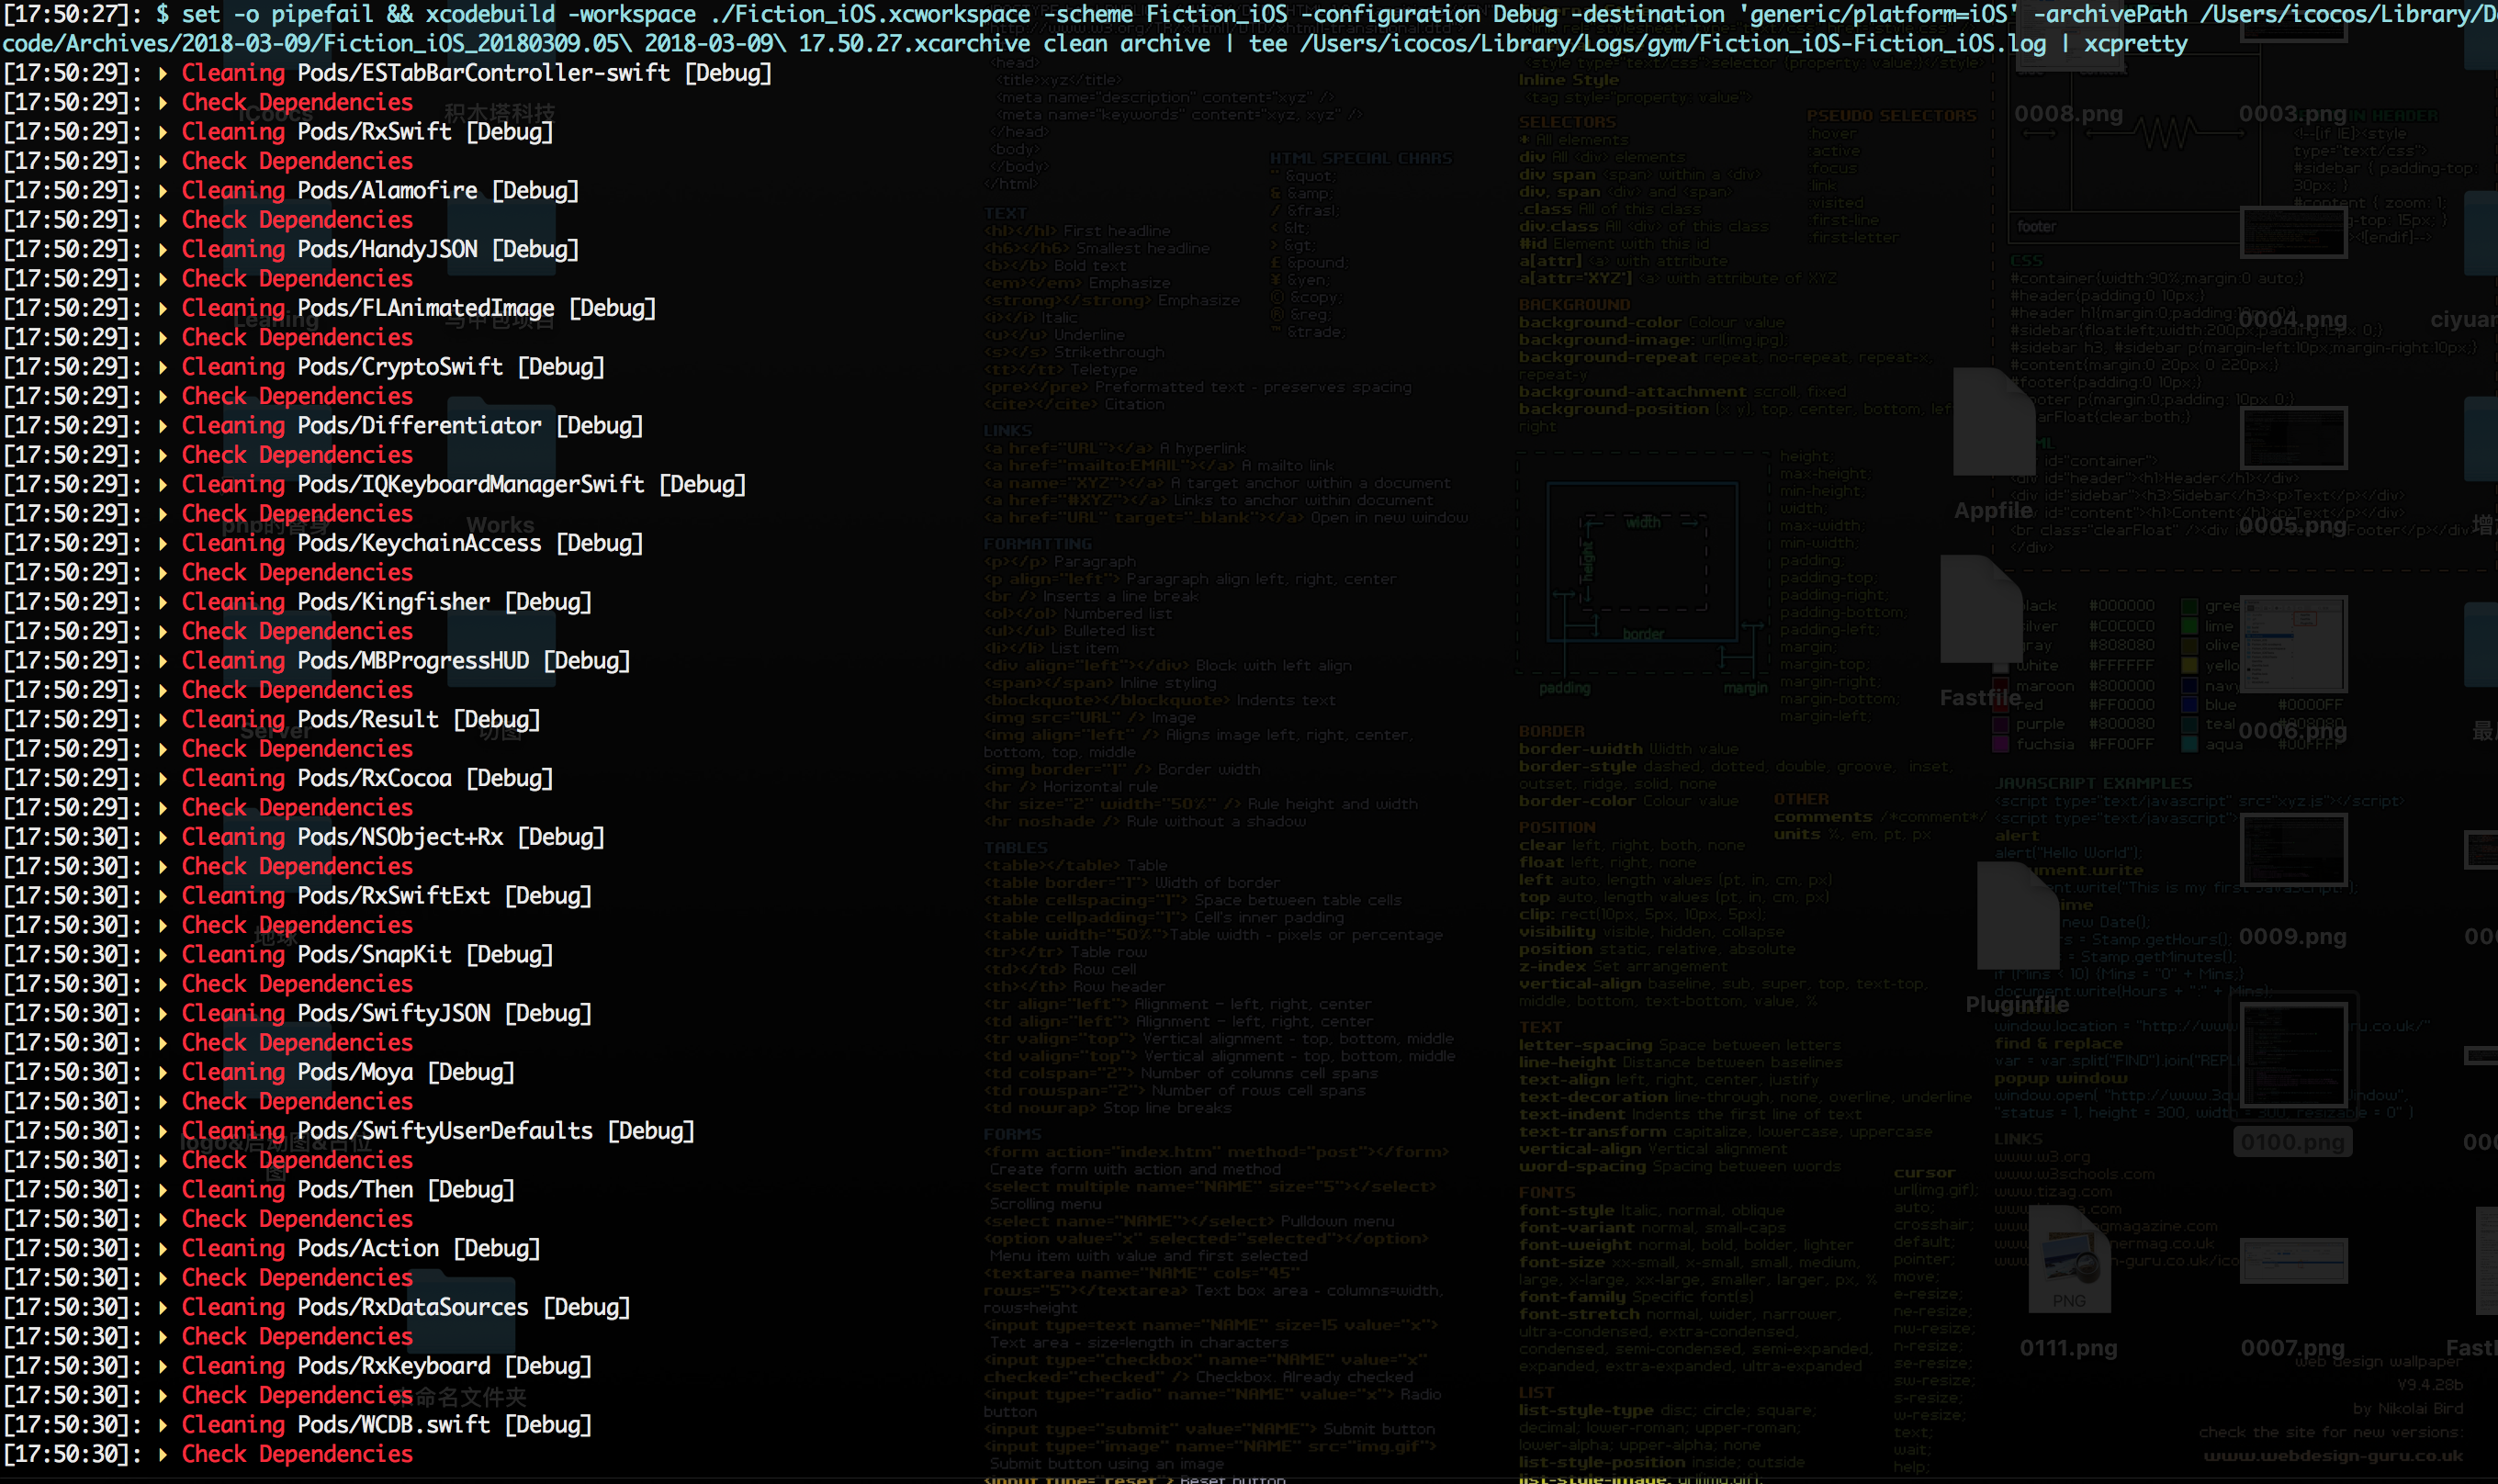
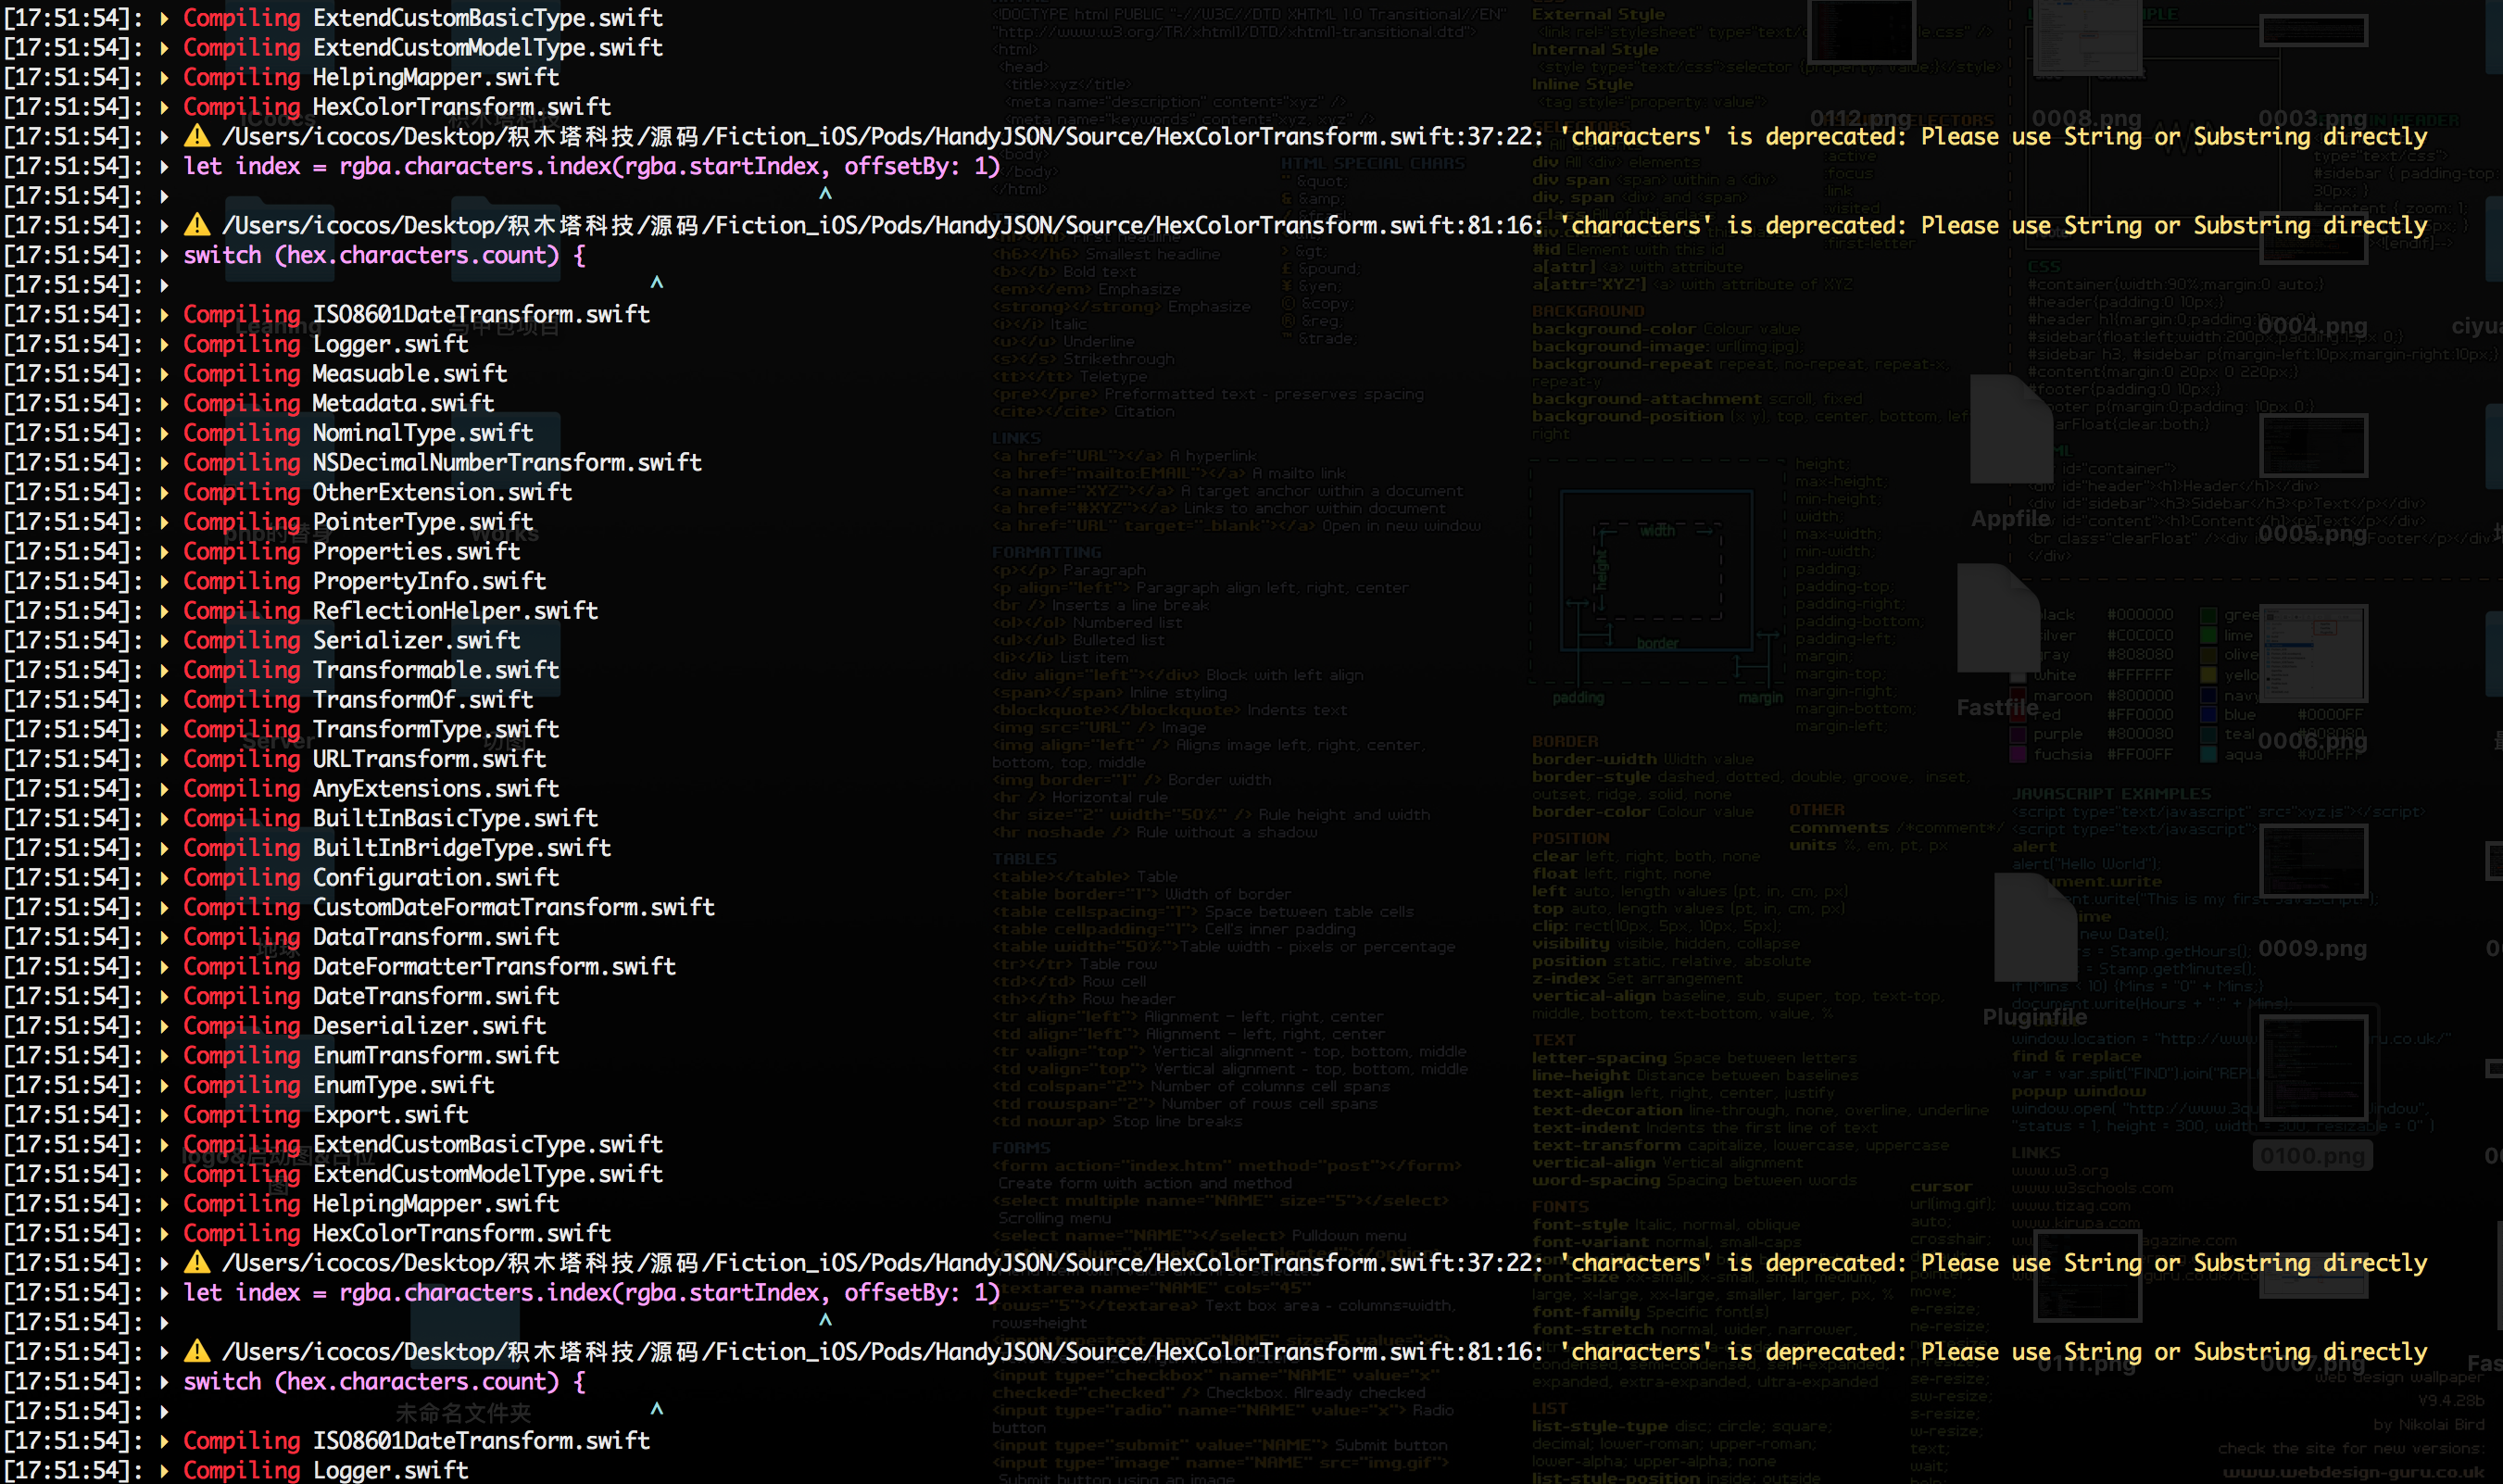
下面以执行结果

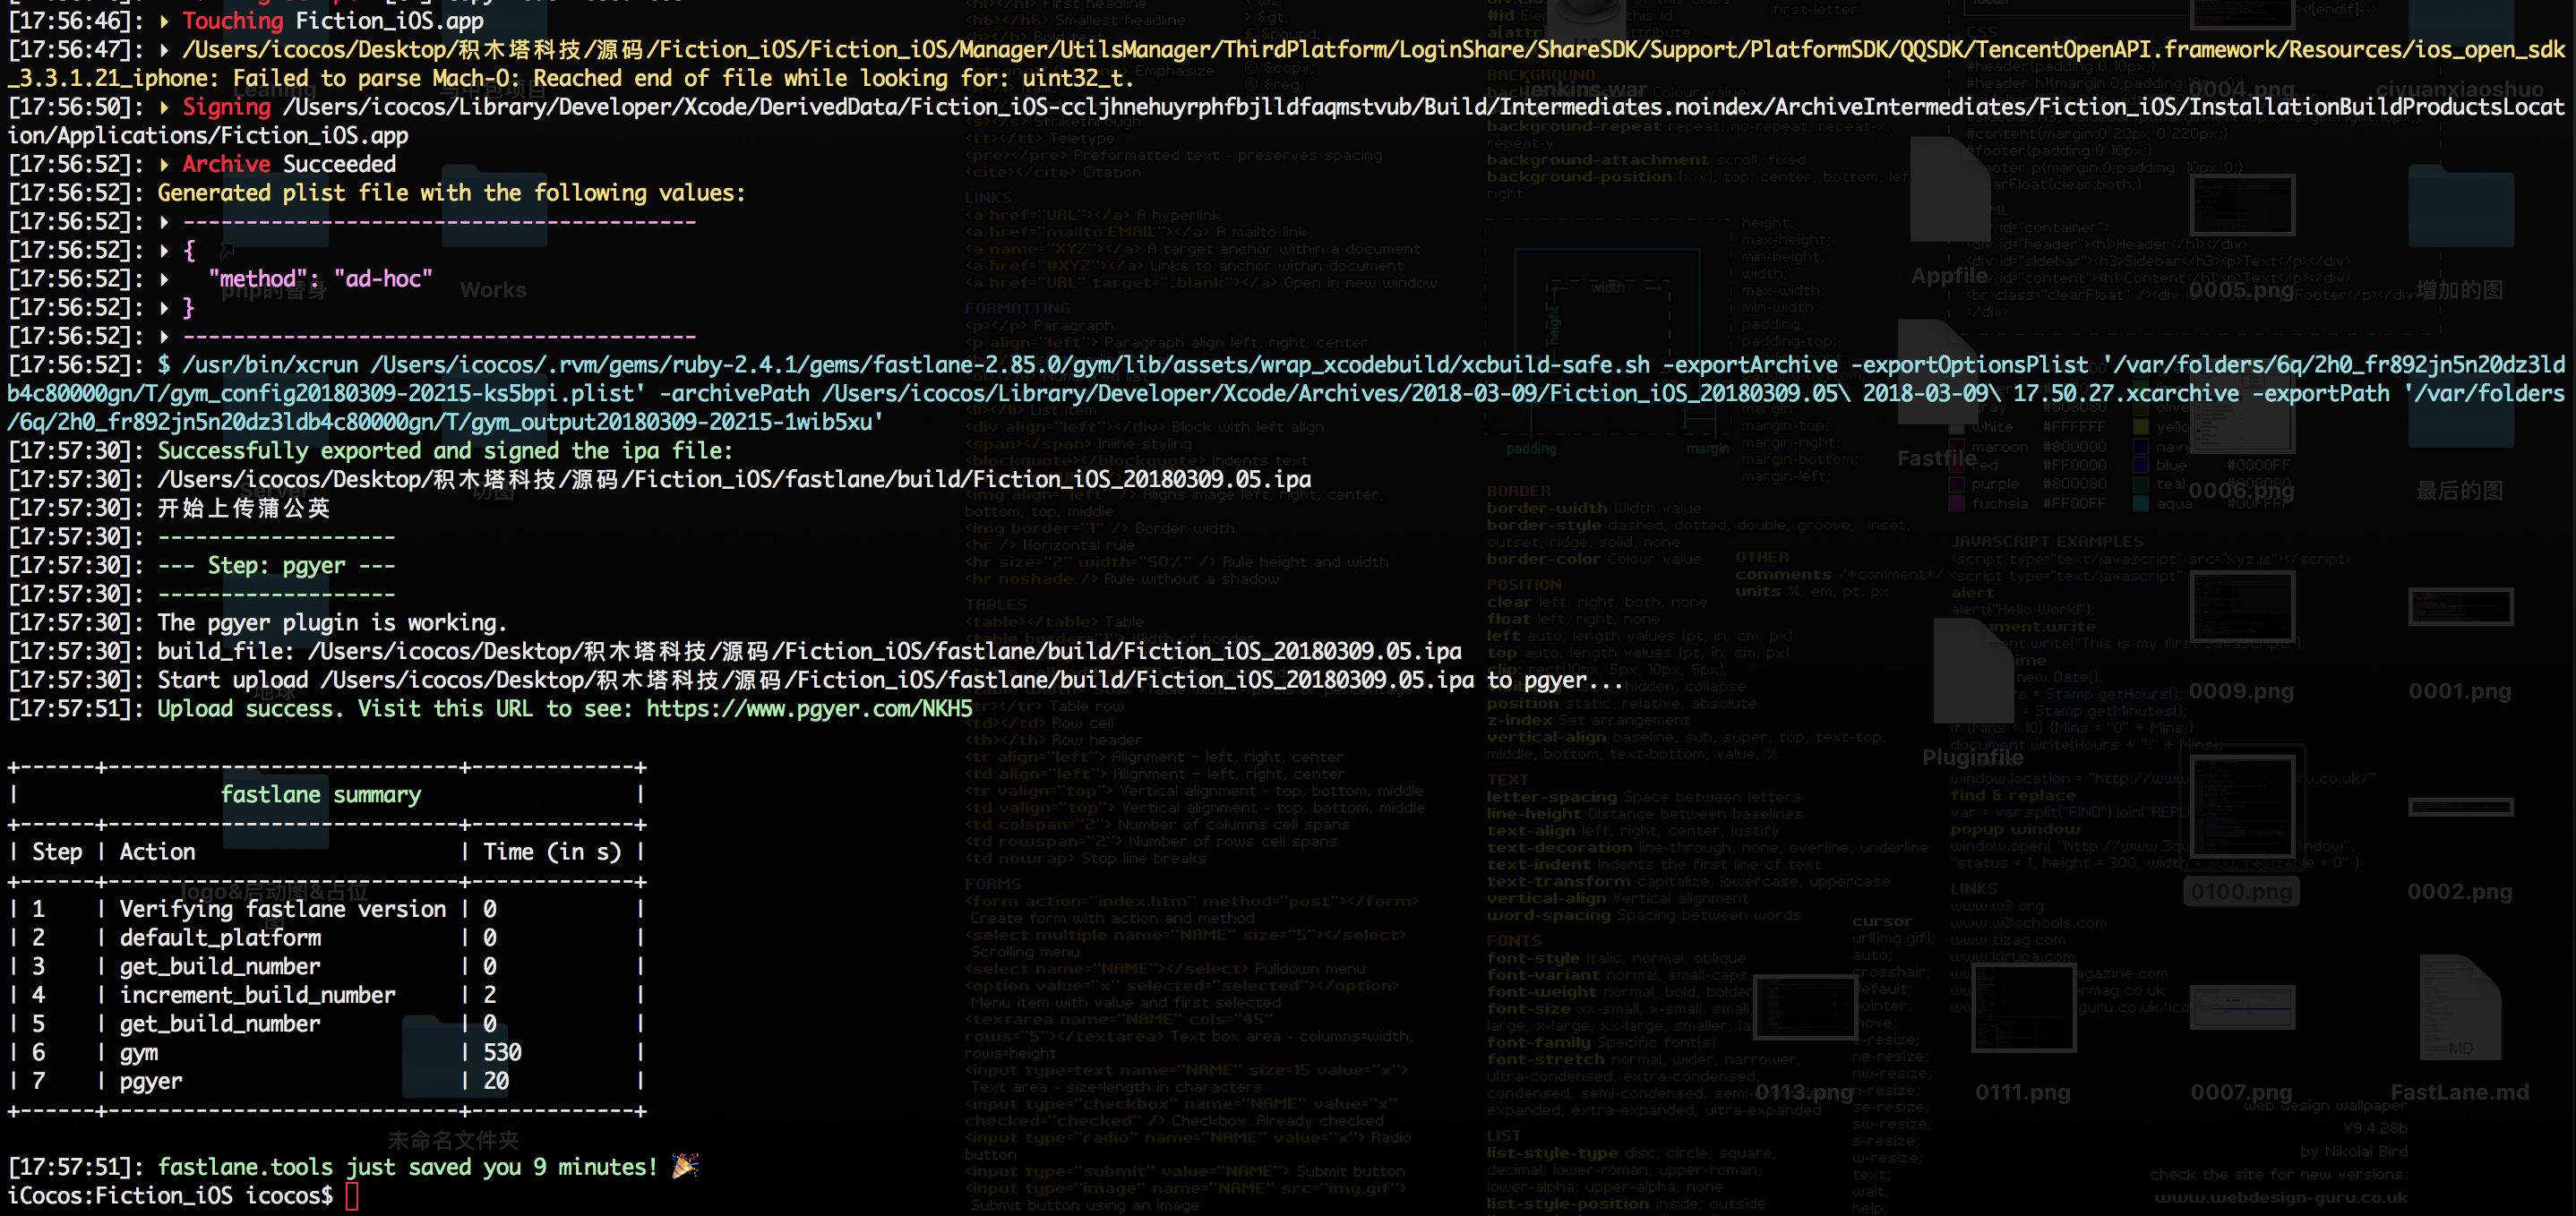
再来三张:入口,选项与结果


